Believe it or not, on occasion, I practice the triangle. Maybe I don’t need a 20 minute warm up routine for triangle, but there are definitely certain skills I want to stay sharp on. For this reason I am going to focus on a little bit more of the “how to” part of playing triangle in this post. I’ll also cover how I practice it as well. Triangle may be the joke instrument of the percussion section but the older I get, the happier I am to be playing triangle as it is one of the most portable instruments we play!
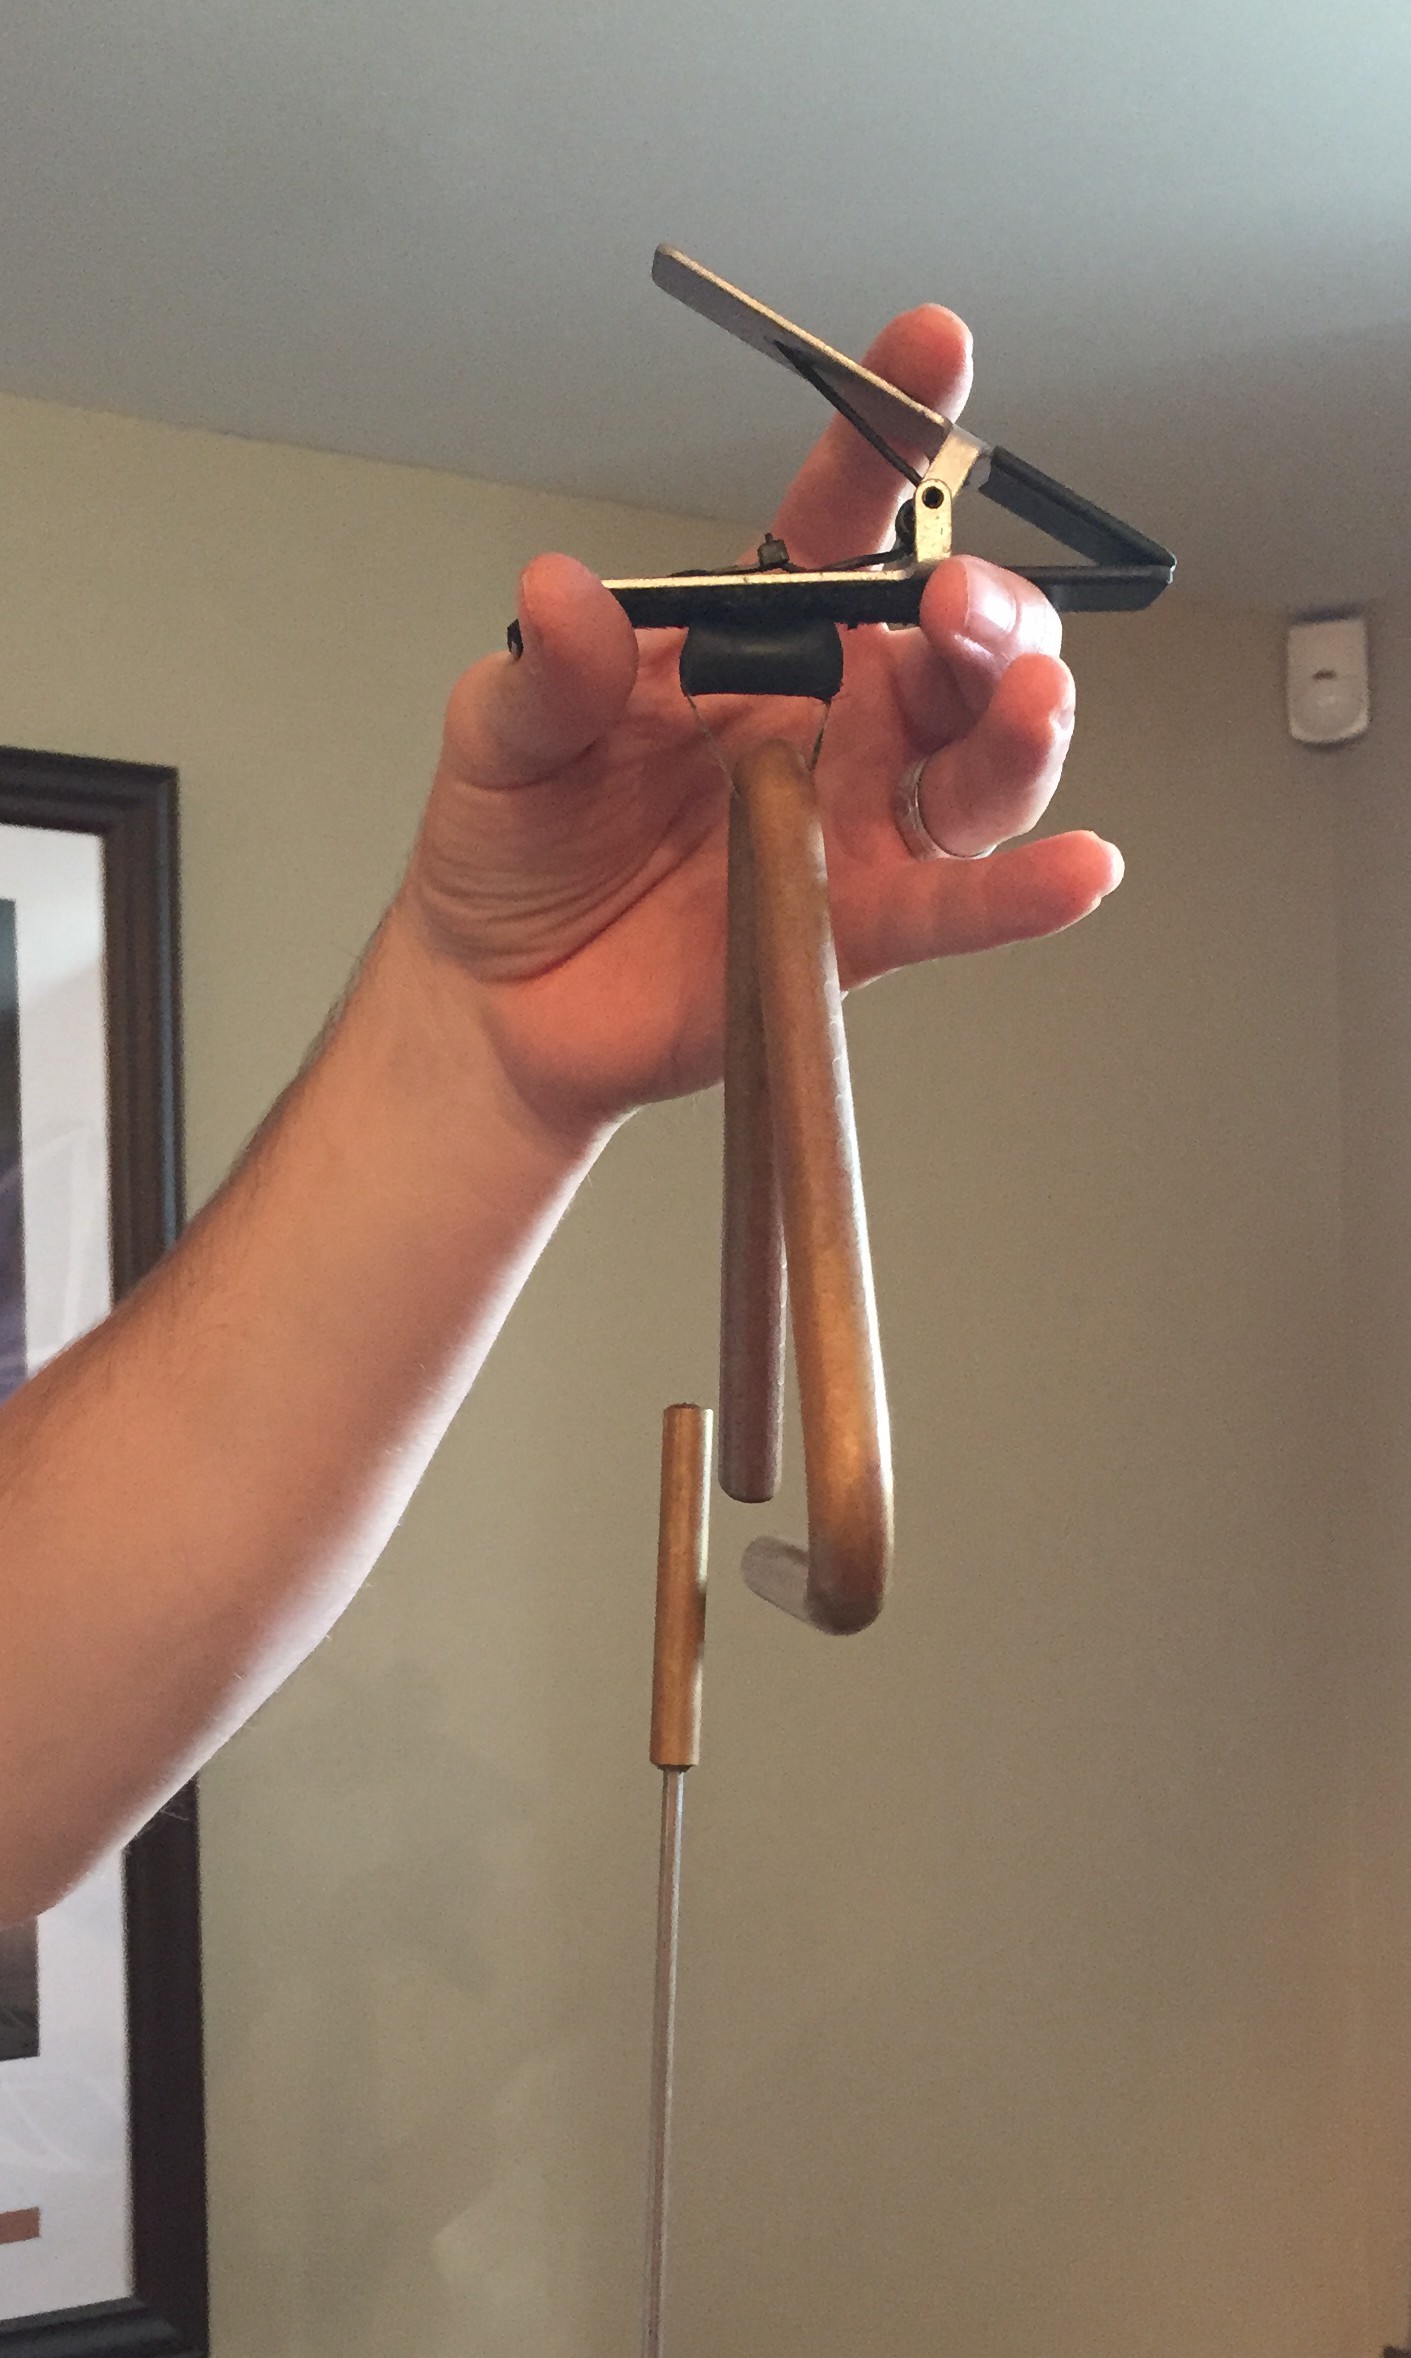
Holding the triangle
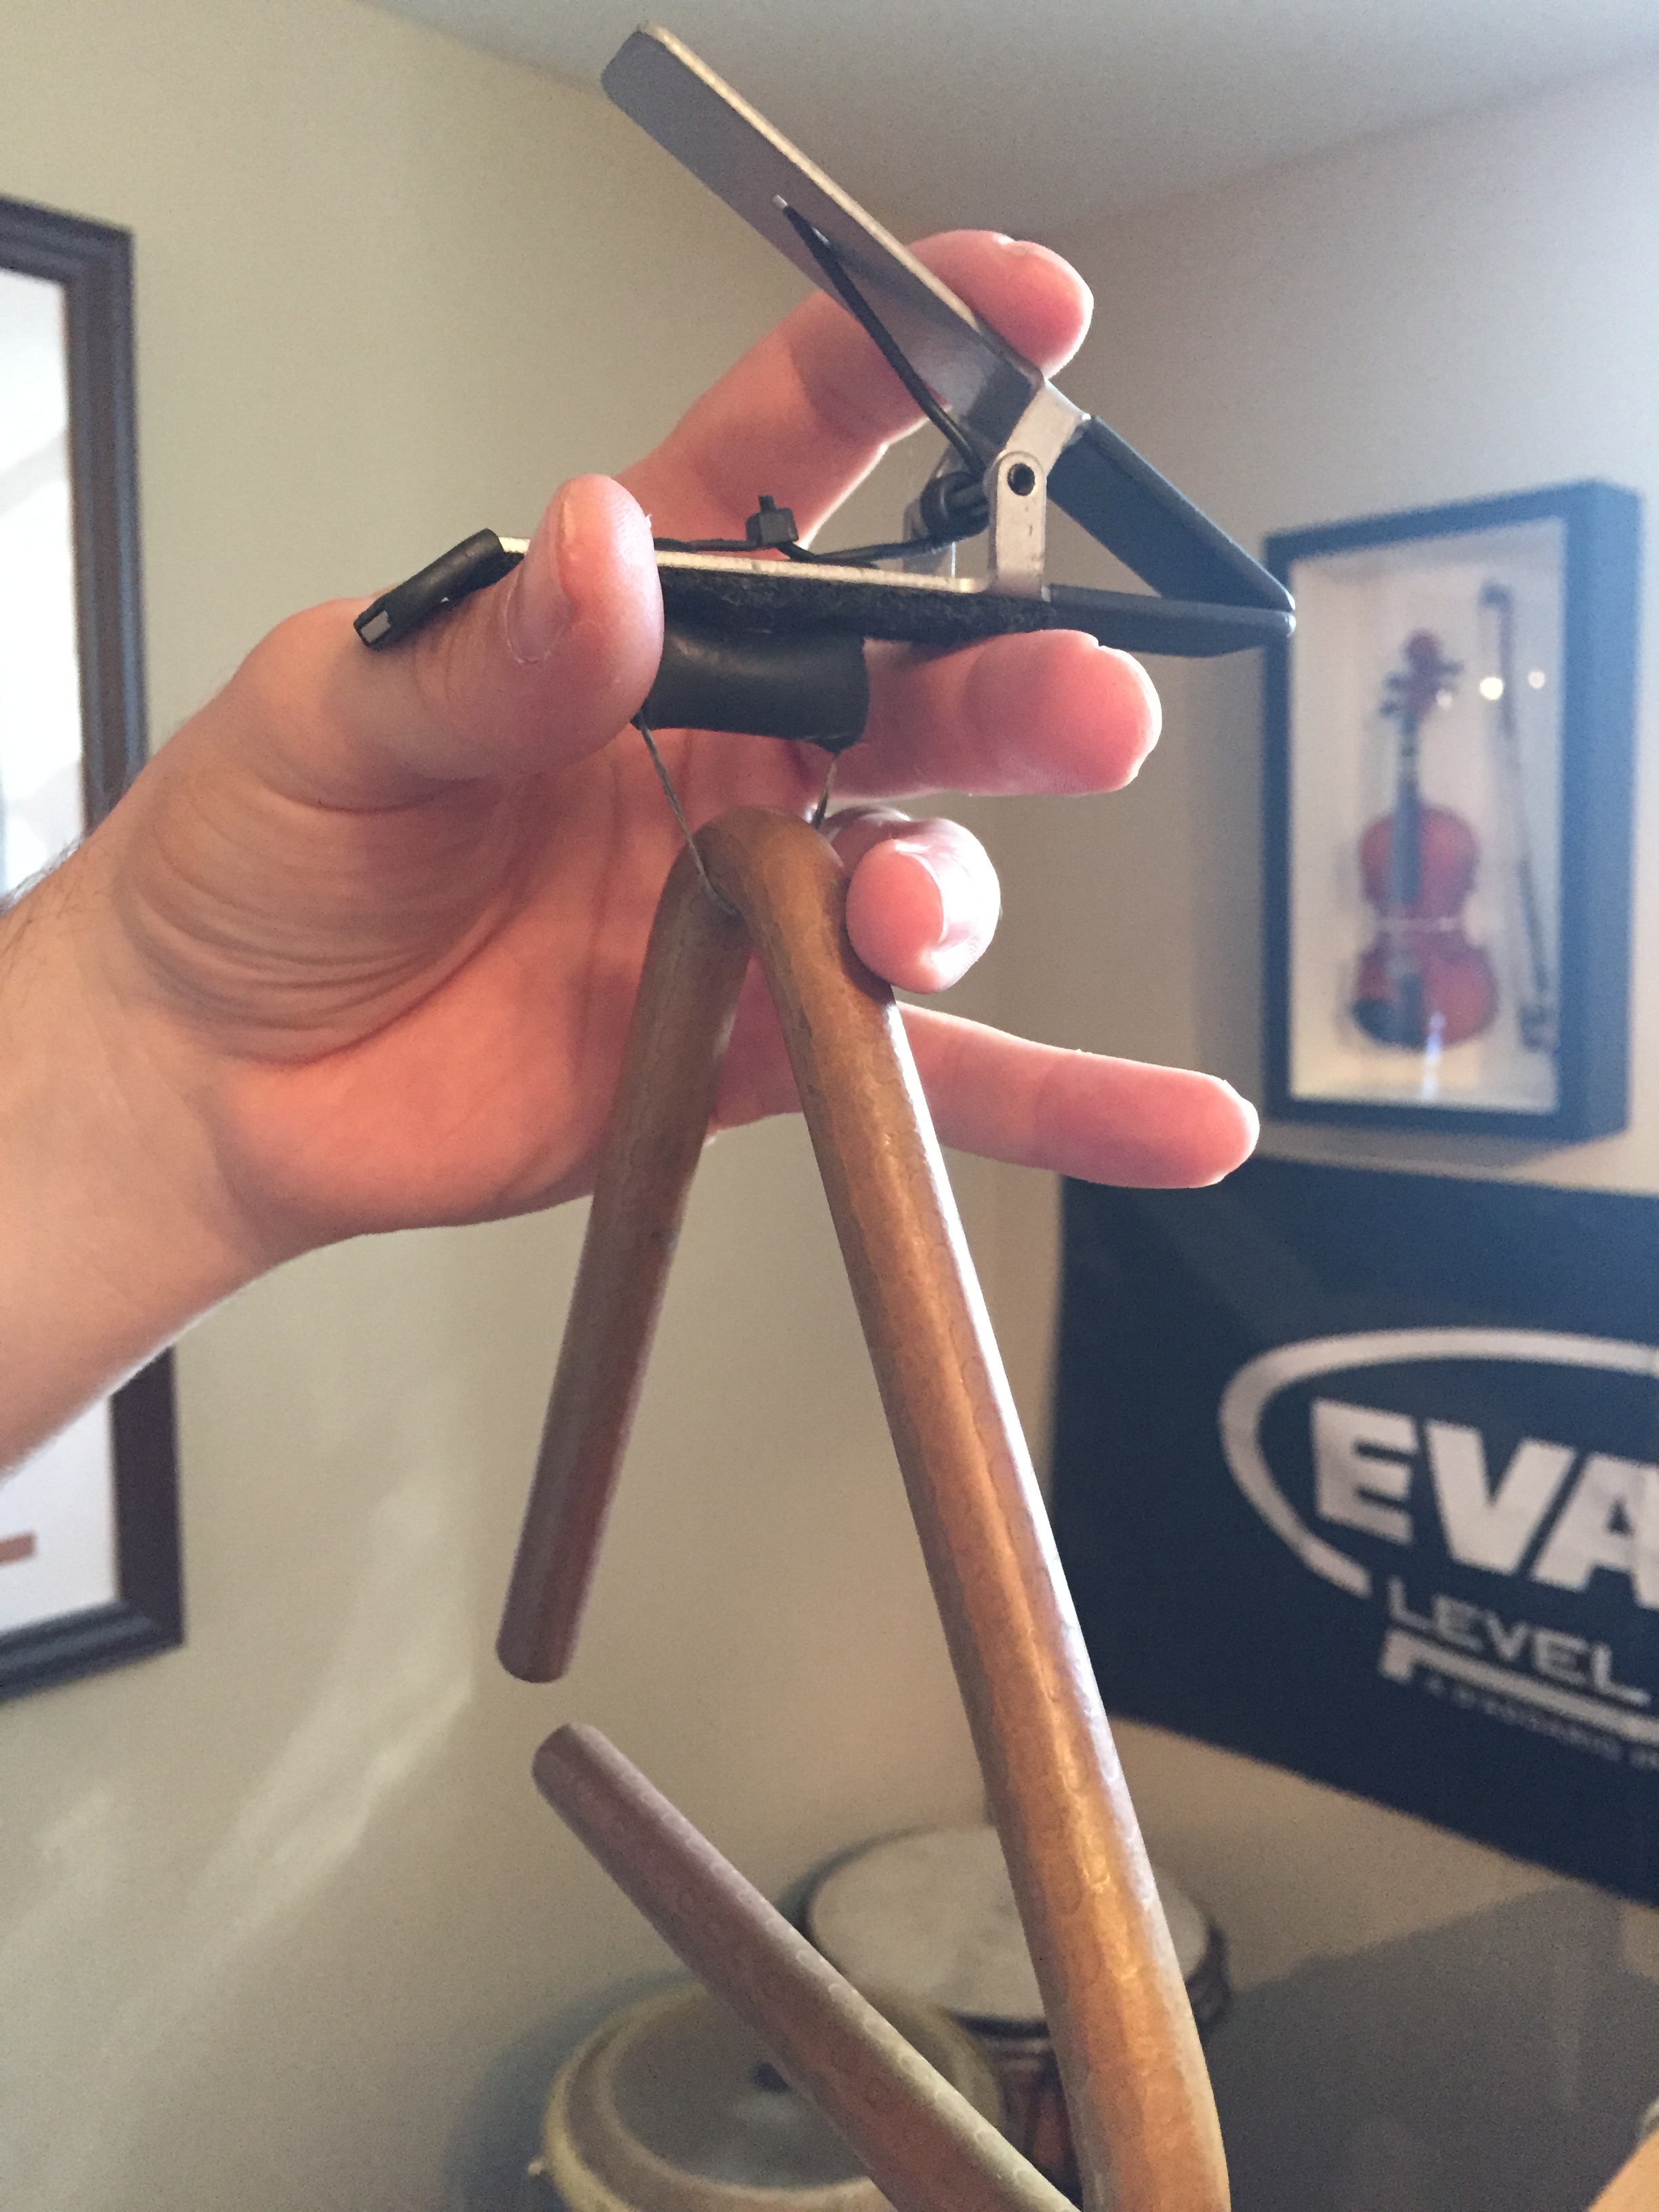
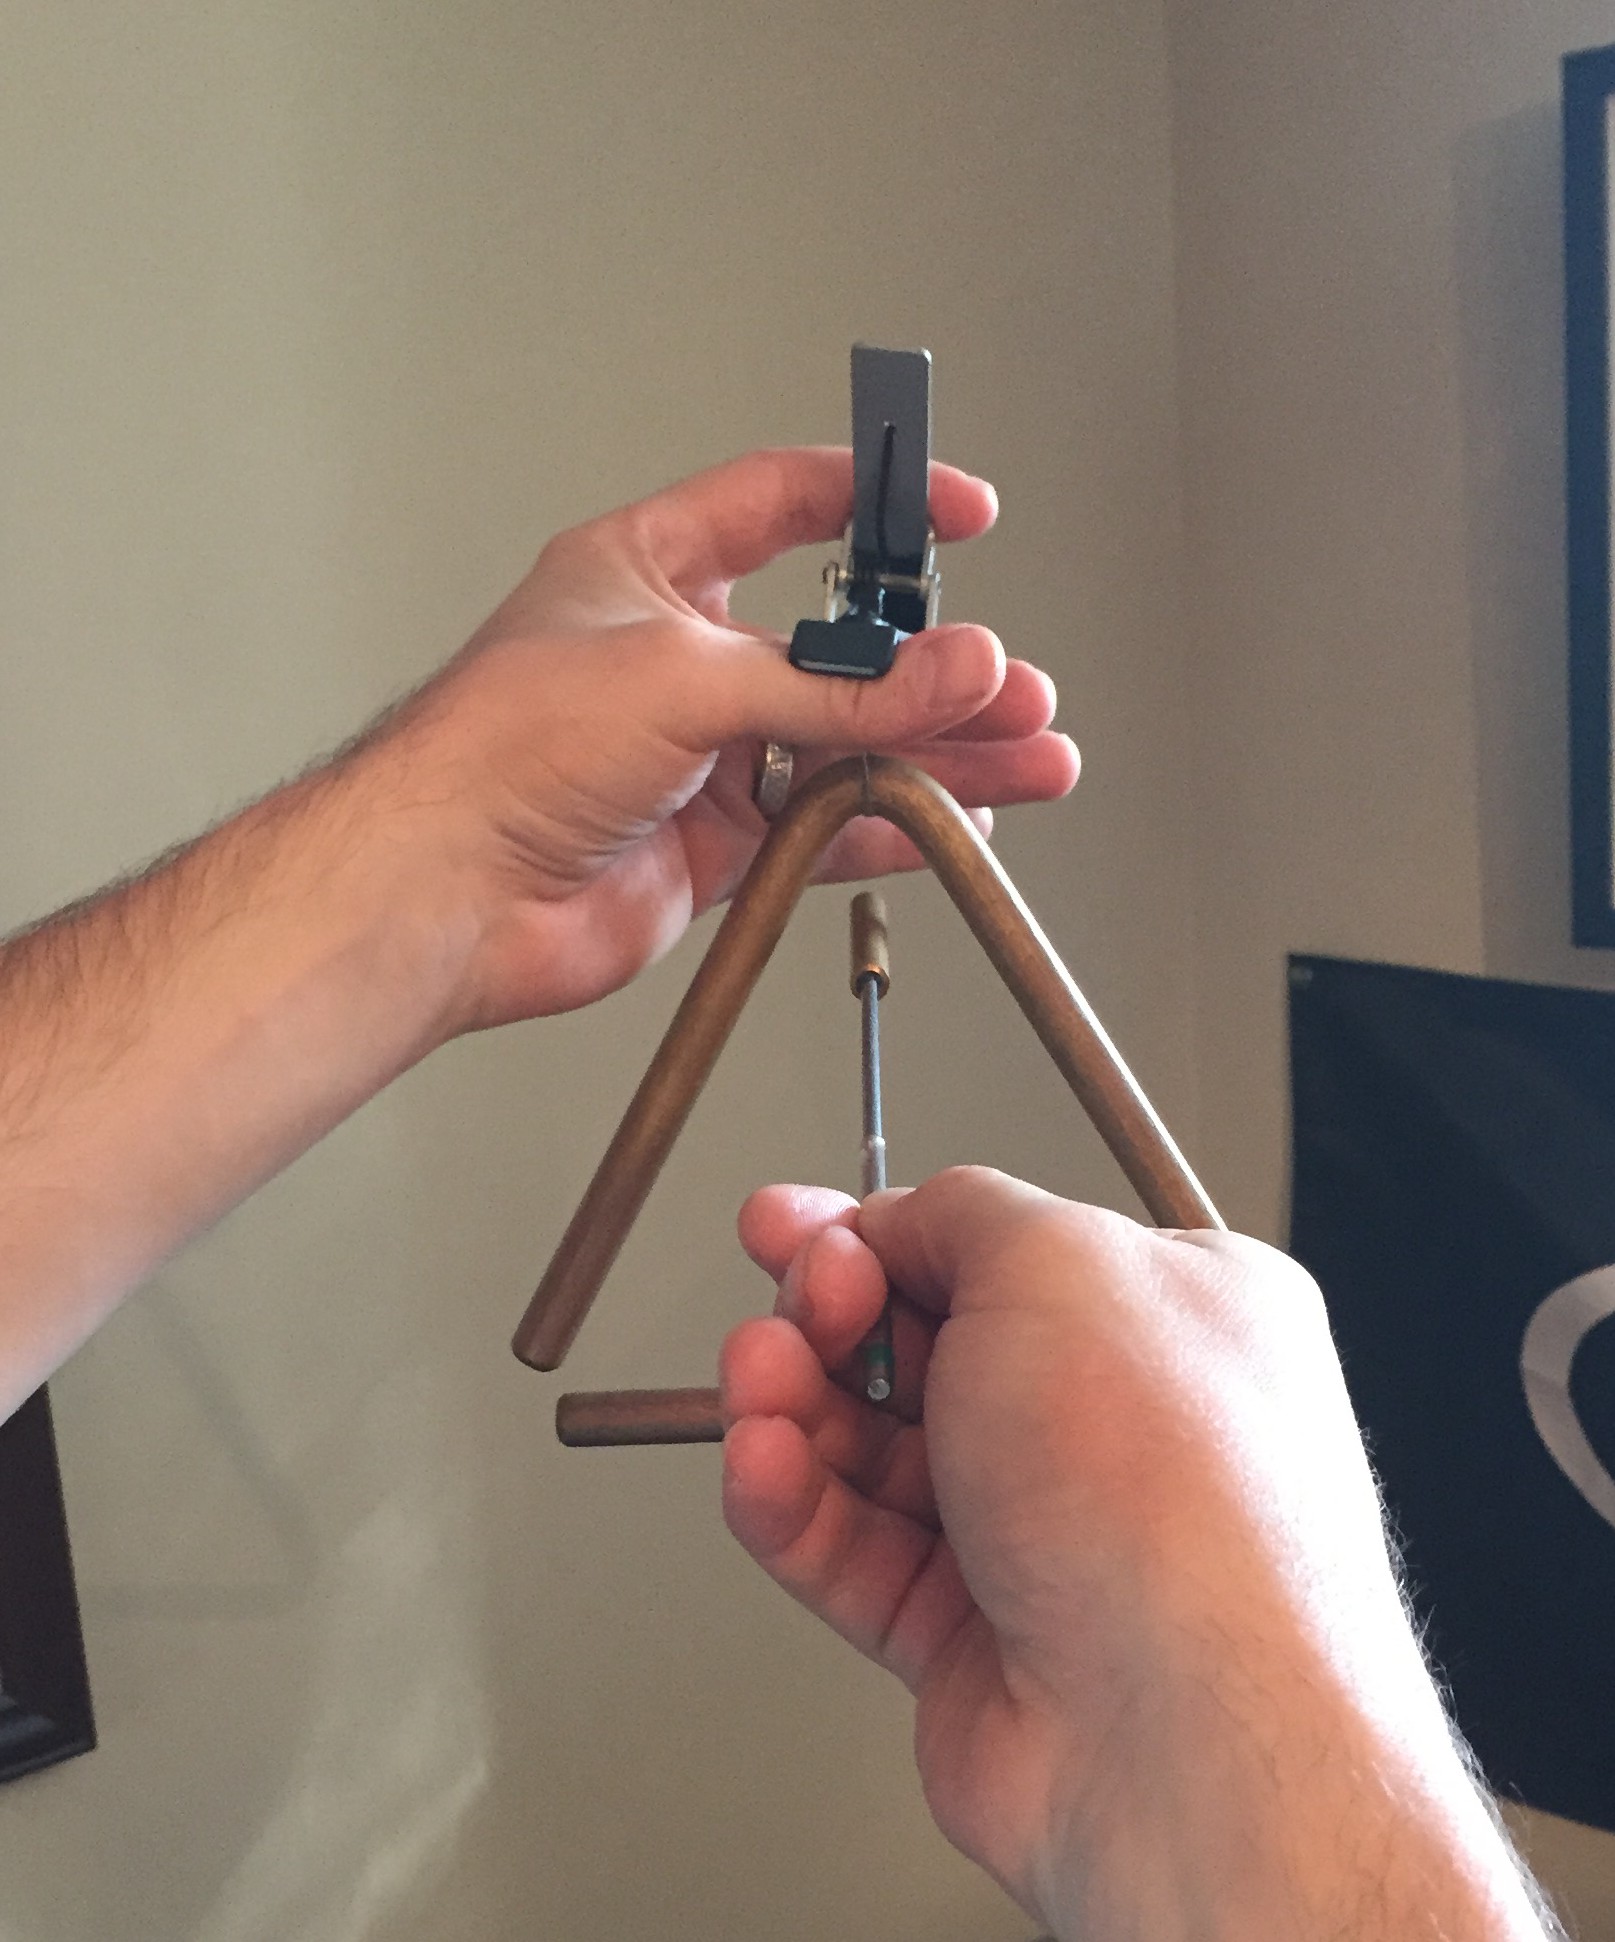
Holding the triangle should look graceful. We want to at least look professional. Resting the clip on the thumb and middle finger, leaves the other fingers available for muting if necessary. Holding the triangle around eye level is preferred so the audience can see what you are doing but also to allow the sound to travel without any interference from a music stand or any other instrument.

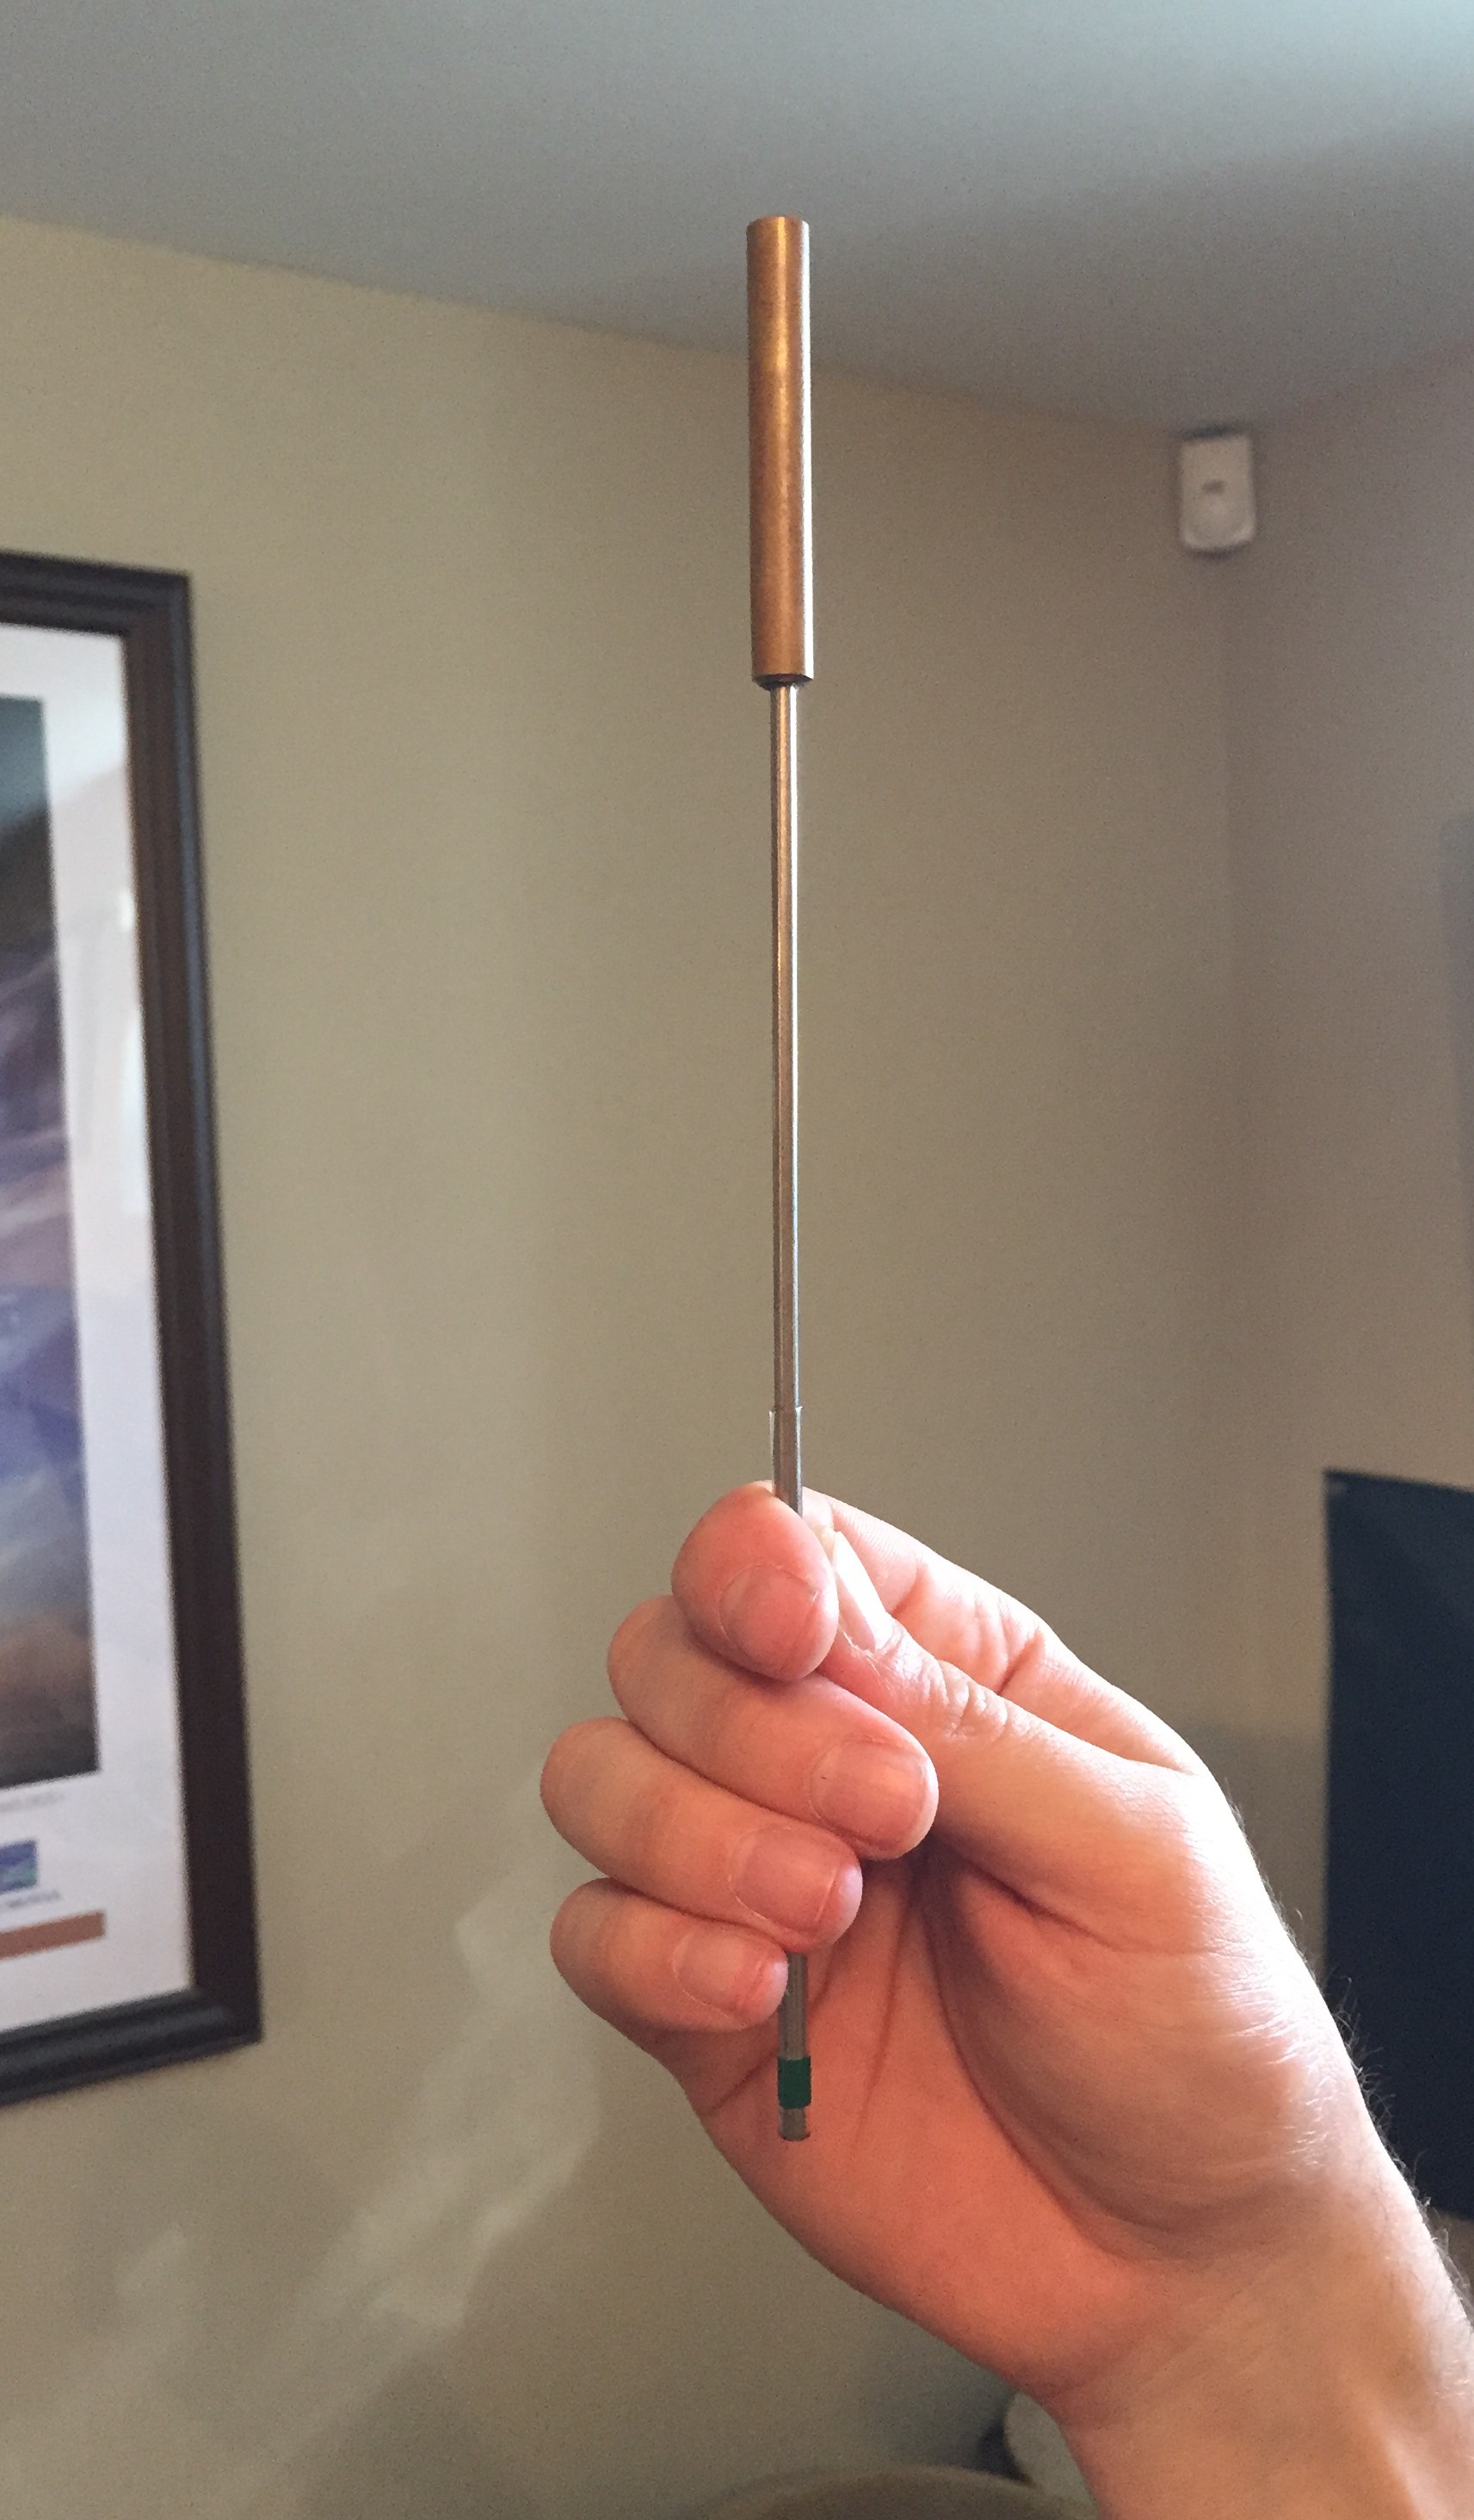
Gripping the beater
I have heard of two ways to hold the beater, although I’m sure there are many more. The first is similar to a snare drum or timpani grip. Very typical, with most of the pressure using the thumb and first two fingers. The other is almost like the inner mallet using Stevens grip; the mallet just slides into a different place in the palm. Chris Deviney showed me this grip. It is a nice alternative option to use when playing rolls or rhythms in the corner of the triangle.

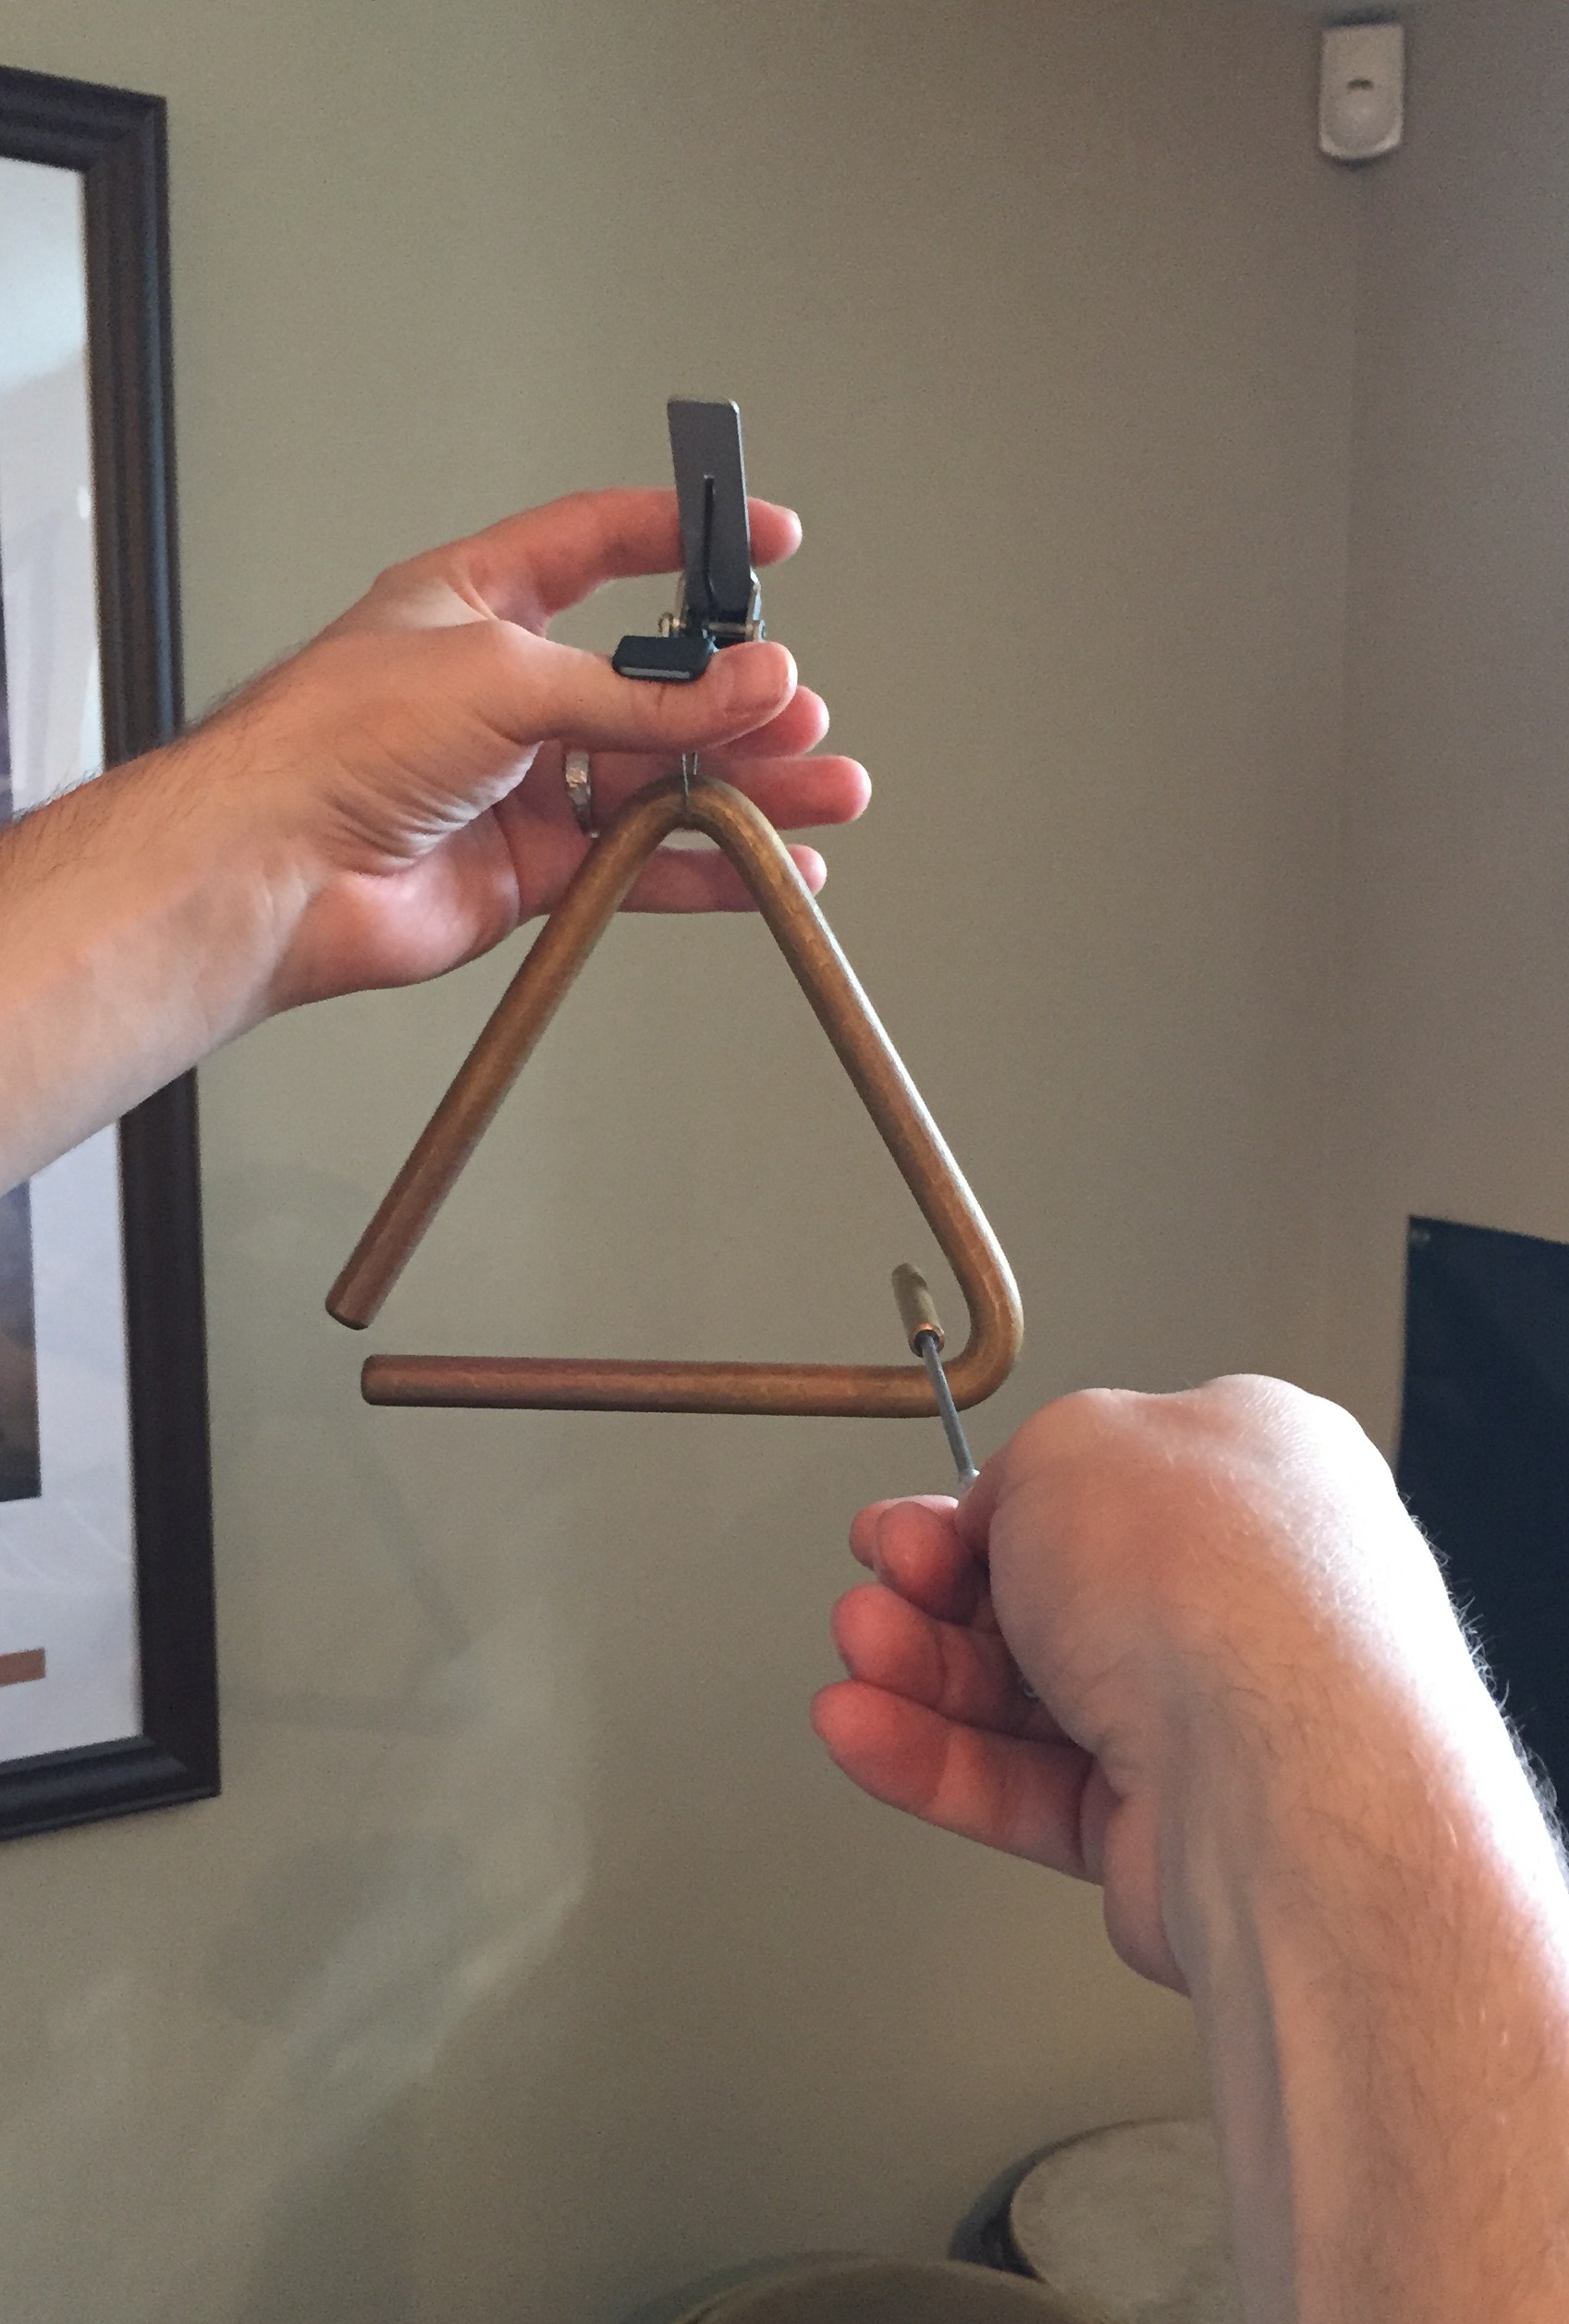
Playing areas
There are a lot of different sounds you can get out of the same triangle. The angle and placement make a big difference. A straight on attack will give you a more pure tone with less overtones.
Adding more angle of attack will activate the triangle to vibrate in more of a three dimensional way and cause the triangle to have more overtones.

I’ll cover how to play rhythms below but the same ideas can be used in the corners of the triangle when rolling or playing rhythms.

Now let’s get to actually playing the triangle and how to choose a triangle.
Almost all triangle playing for me breaks down into 3 categories.
1. Rhythms
2. Rolls
3. Single notes
Almost all triangles fall along two different spectrums
1. Clear tone —- overtone rich (shimmery)
2. Bright —- dark
Rhythms
Rhythms pose the most difficulties so let’s tackle them first. Generally when I am playing passages with anything remotely intricate I want a triangle with more of a pure tone that is clear so those rhythms will come out. If I use something with lots of overtones, the sound will be so broad and wide that the rhythms will just get lost. There is obviously a spectrum so you don’t have to immediately go to the clearest triangle you own, but this is a good philosophy to have. I generally let the musical context dictate whether I want a bright or a dark sound, but a bright sound will generally yield more clarity.
If lots of clarity of rhythm is needed a finger from the hand holding the triangle can mute part of the triangle. It doesn’t take much contact to really change the sound of the triangle so start conservative and add as needed.
If I can play the rhythms needed with single strokes, I will, as my consistency will inevitably be better. If the rhythms are too fast, I have a couple options for how to solve this. The first option is to play in the bottom corner of the triangle with an up and down motion. The “up” motion is generally weaker so a lot of times I will start with an up motion to make the rhythms sound more even. Playing in this corner of the triangle also allows the player to transition to single strokes much easier as the beater is in more or less the same place.

Another option for playing rhythms is in the top corner of the triangle. This can be great for rhythms that need to be very clear. The angle of attack helps that. However, it is difficult to transition to single notes from this position and keep a consistent sound.
Sometimes I will completely choke the triangle for practice. This makes the rhythms extremely clear. Once I’m happy with the evenness of my rhythms, I will let the triangle ring normally.

The last option is to mount the triangle and play with two hands. This can be great for very intricate rhythms that need to be clear. It also makes execution tremendously easier! The downside is there is very little control of the ring in this position as both hands are occupied. When choosing this method it is important to mount the triangle using a very secure stand (usually a cymbal stand). Music stands are fine in a pinch but you will notice the triangle will make the entire music stand vibrate and take away from the triangle’s sound.

Rolling
Triangle rolls are trickier to get a nice blended sound than one would think. We don’t want a dinner bell triangle sound 99.9% of the time. Playing in the bottom corner, with an angle that is consistent, is the best method. The alternate grip mentioned above helps this. This area is also great when needing to transition into single notes.
There are some additional techniques you might want to think about in certain situations. If the roll has a strong beginning, I like to put a burst at the start of the roll, giving it a nice accent. This leaves no confusion as to where the start of the roll is. If the roll needs to sound quasi-rhythmic then I will lessen the angle of attack on the triangle so I am getting less overtones.
Single notes
Some of the best parts in all the repertoire are single triangles notes. Just like a great soft cymbal crash, these notes can really capture a great moment. I am very picky about my triangle sound in these moments. It is here where we can really think about our full spectrum of sounds mentioned above. If I can use a really shimmery sound to capture a single note I will. If I need to play some slower rhythms then maybe I need to go with something a little more clear.
Just like with mallet playing, soft doesn’t always mean to use a small beater. A soft note played with a large, heavy beater can give the note more presence without necessarily more volume.
Another technique I will use when I can is vibrato. If you play a single note and then move the hand holding the triangle back and forth you will get a vibrato sound. This is definitely not for all situations, but can be a nice touch. I’ve had a few brass players turn around, notice it and smile a few times.
Triangles are a lot like cymbals in that each one is different. There is a lot of room for experimentation and thought. I generally practice the roll and controlling my rhythms. For that I use Keith Aleo’s book Complementary Percussion. It’s such a great resource for these accessory instruments. The rest I treat as a big sound experiment to see what options fit the work the best.
The final installment of this series is coming up. Tambourine. As always let me know if you have any questions and thanks so much for all the support!
WJ
Thanks to my lovely wife for reluctantly taking all of the photos in today’s blog…