Marking a part is one of the most helpful things you can do to achieve consistent and high quality performances. Marking that “#” before the C so you remember it’s sharp can make up for a poor memory. Marking “V.S.” at the bottom of the page can prevent you from missing your entrance on the next page. There are tons of markings that are helpful but there is certainly a point of diminishing returns. If you mark your part with too many notes and cues, it will become distracting and will draw your focus away from what is most important; the notes on the page! Below are some markings that I use. I don’t use them all the time; only when I feel they are necessary. My advice to you is to use what you find helpful and leave out the rest.
1. V.S.
This is probably the most common marking. I used to think it stood for “Very Soon” but it actually stands for “Volti Subito” which translates “turn suddenly”. I wasn’t far off I guess… This is typically marked at the bottom of the right page to let you know there are notes immediately at the top of the next page. You can also write the instrument you are playing next as well.

2. “Moving instructions”
This is fairly obvious but for percussionists we often have to move between instruments. Knowing where you are going is important! Sometimes I will also write “stay” after a lick so I know I don’t have to move to another instrument before my next entrance. For a really busy part sometimes I use a post it note so that it stands out and also so whoever is using the part next can just peel it off and not have to erase a bunch of markings.
3. Rhythmic aids
Sometimes rhythms don’t visually look right on the page so I will draw rhythmic aids. For poly-rhythms this is especially helpful. It is also helpful when it is not clear visually where the downbeats are, like the example below. This could very easily be perceived as an upbeat in the heat of the performance.

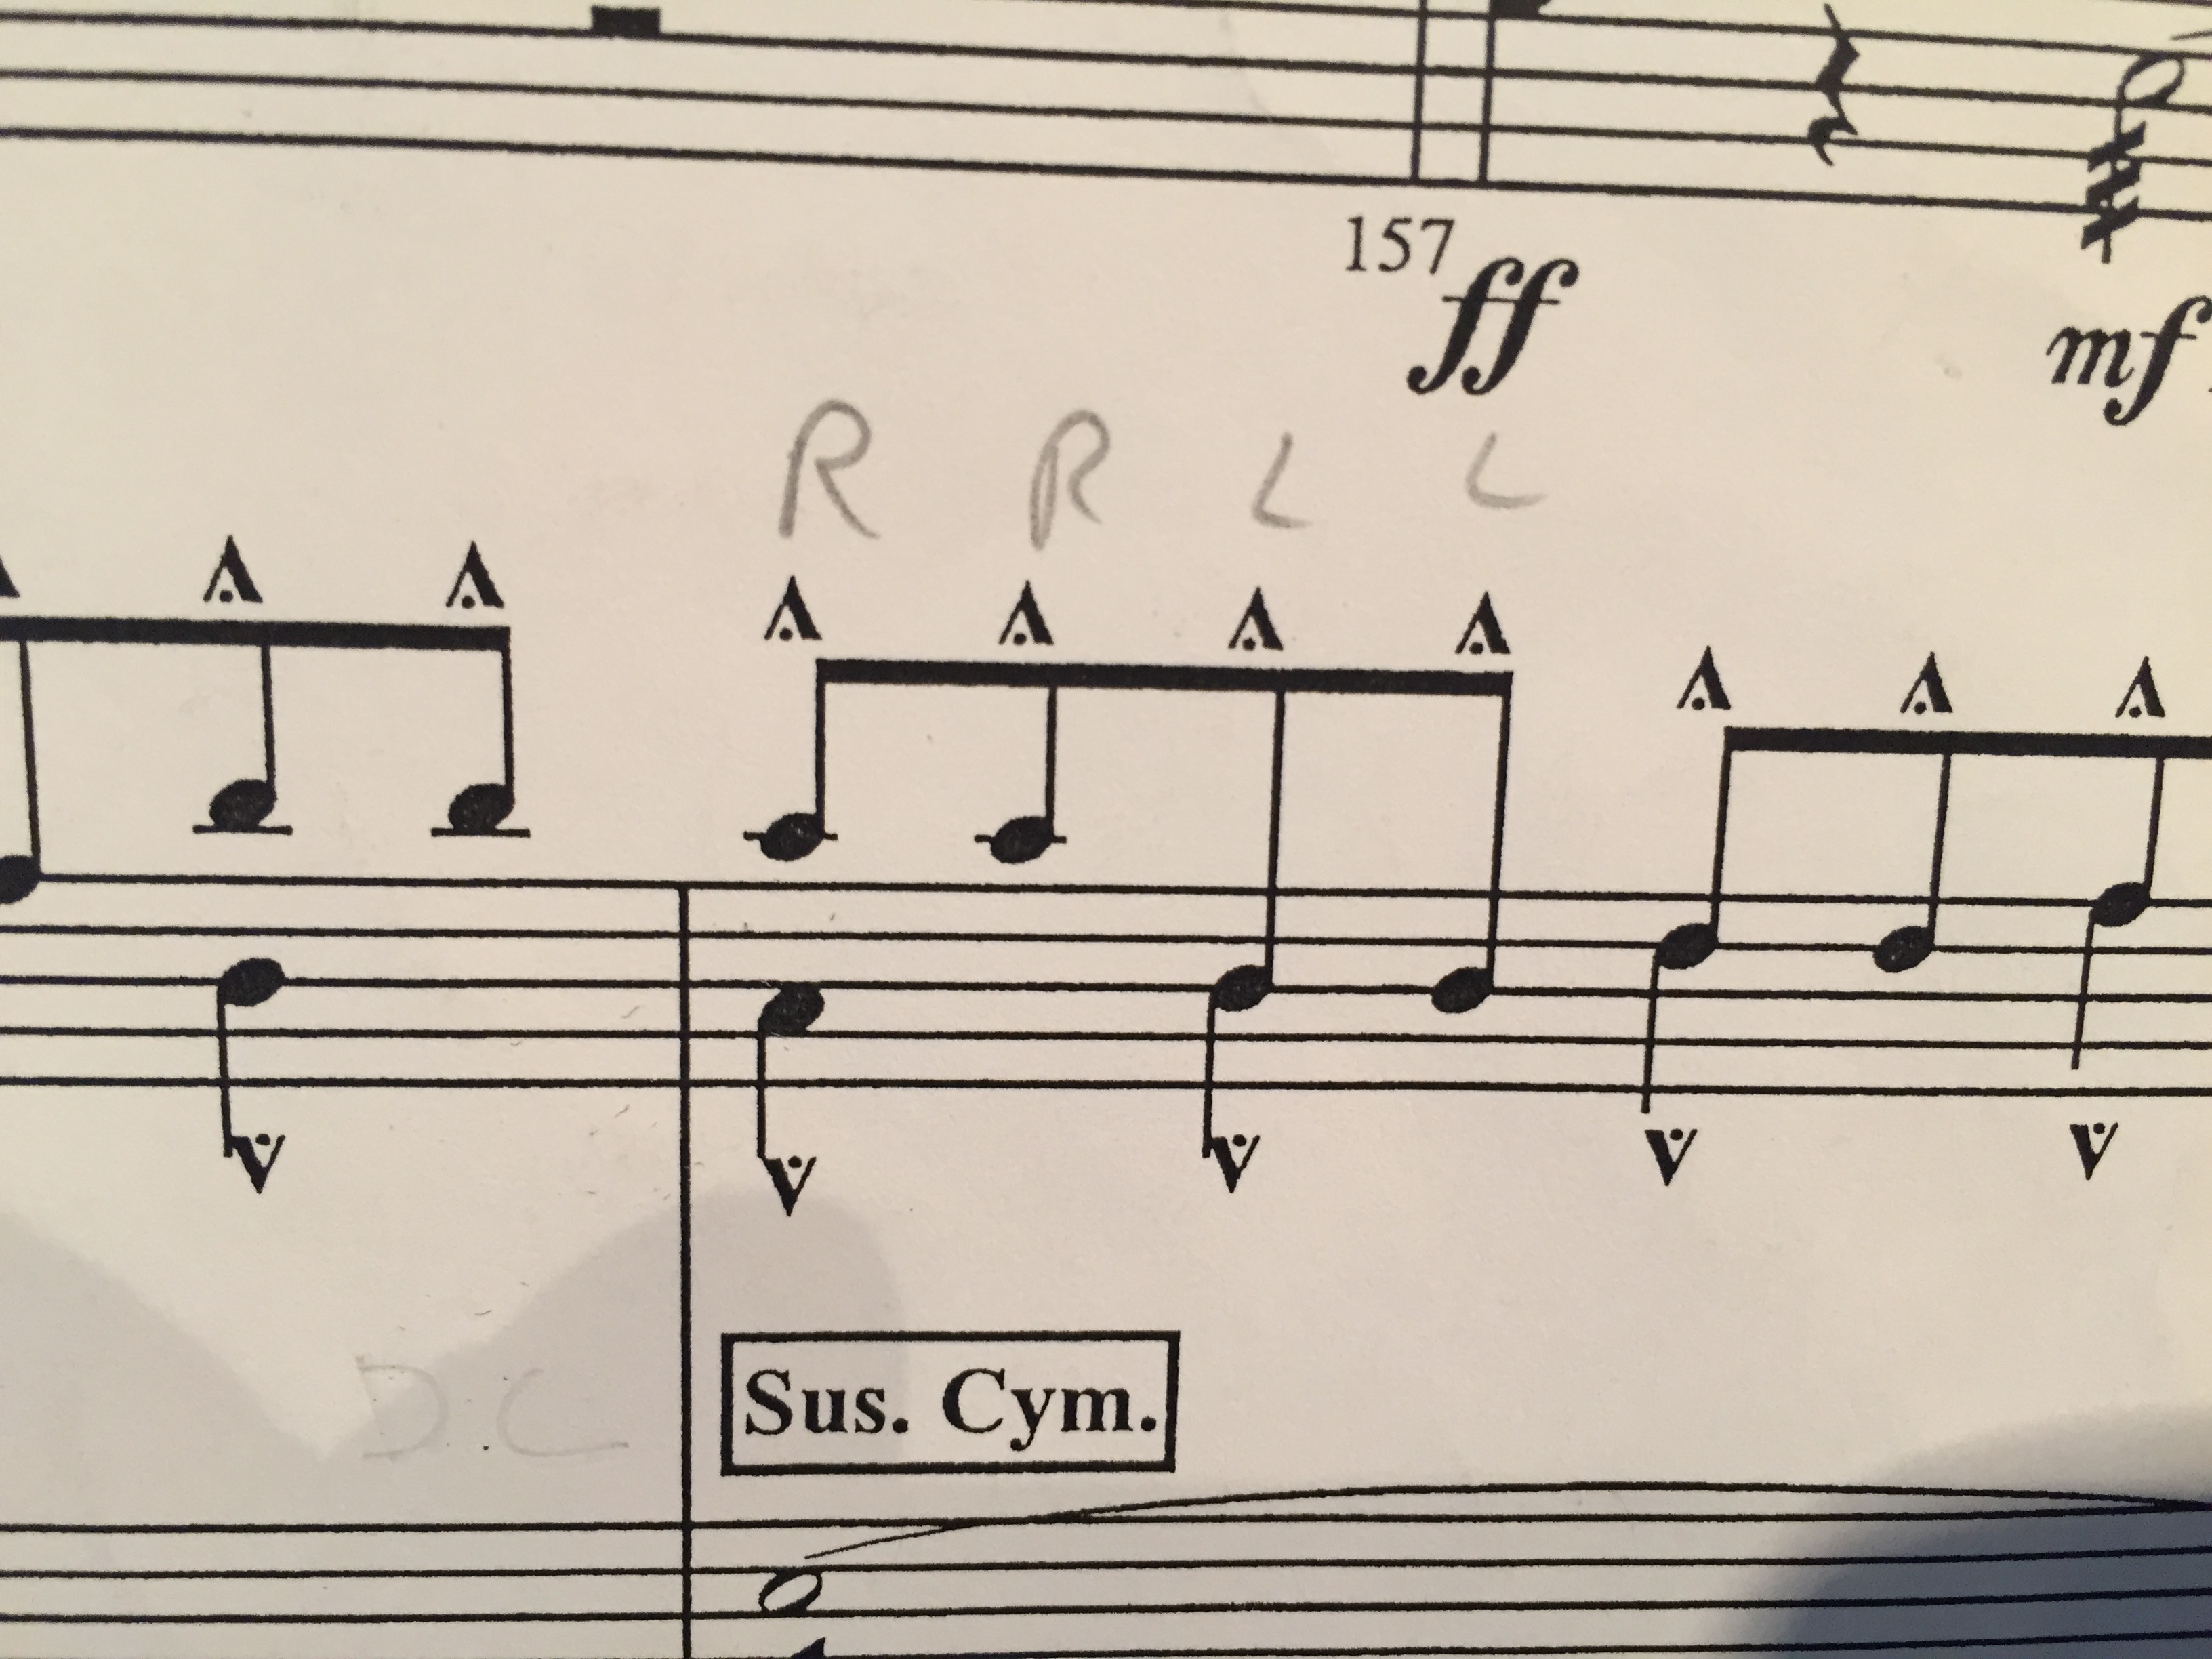
4. Sticking instructions
Much like bowings, sticking instructions can be very helpful to make sure the right hand is in the right place (pun intended…). I am very conservative in my sticking markings because I only want what is absolutely necessary. That way I know to really pay attention when there is something on the page. Not every lick needs to have a “R” or a “L” underneath it.
5. Clarifying arrows
These little arrows can be of huge help when looking at a score part after running from one instrument to the next. I love using legal arrows. They are like post it notes and can easily be removed but are a nice visual for what you are playing. Especially when reading a score form part.
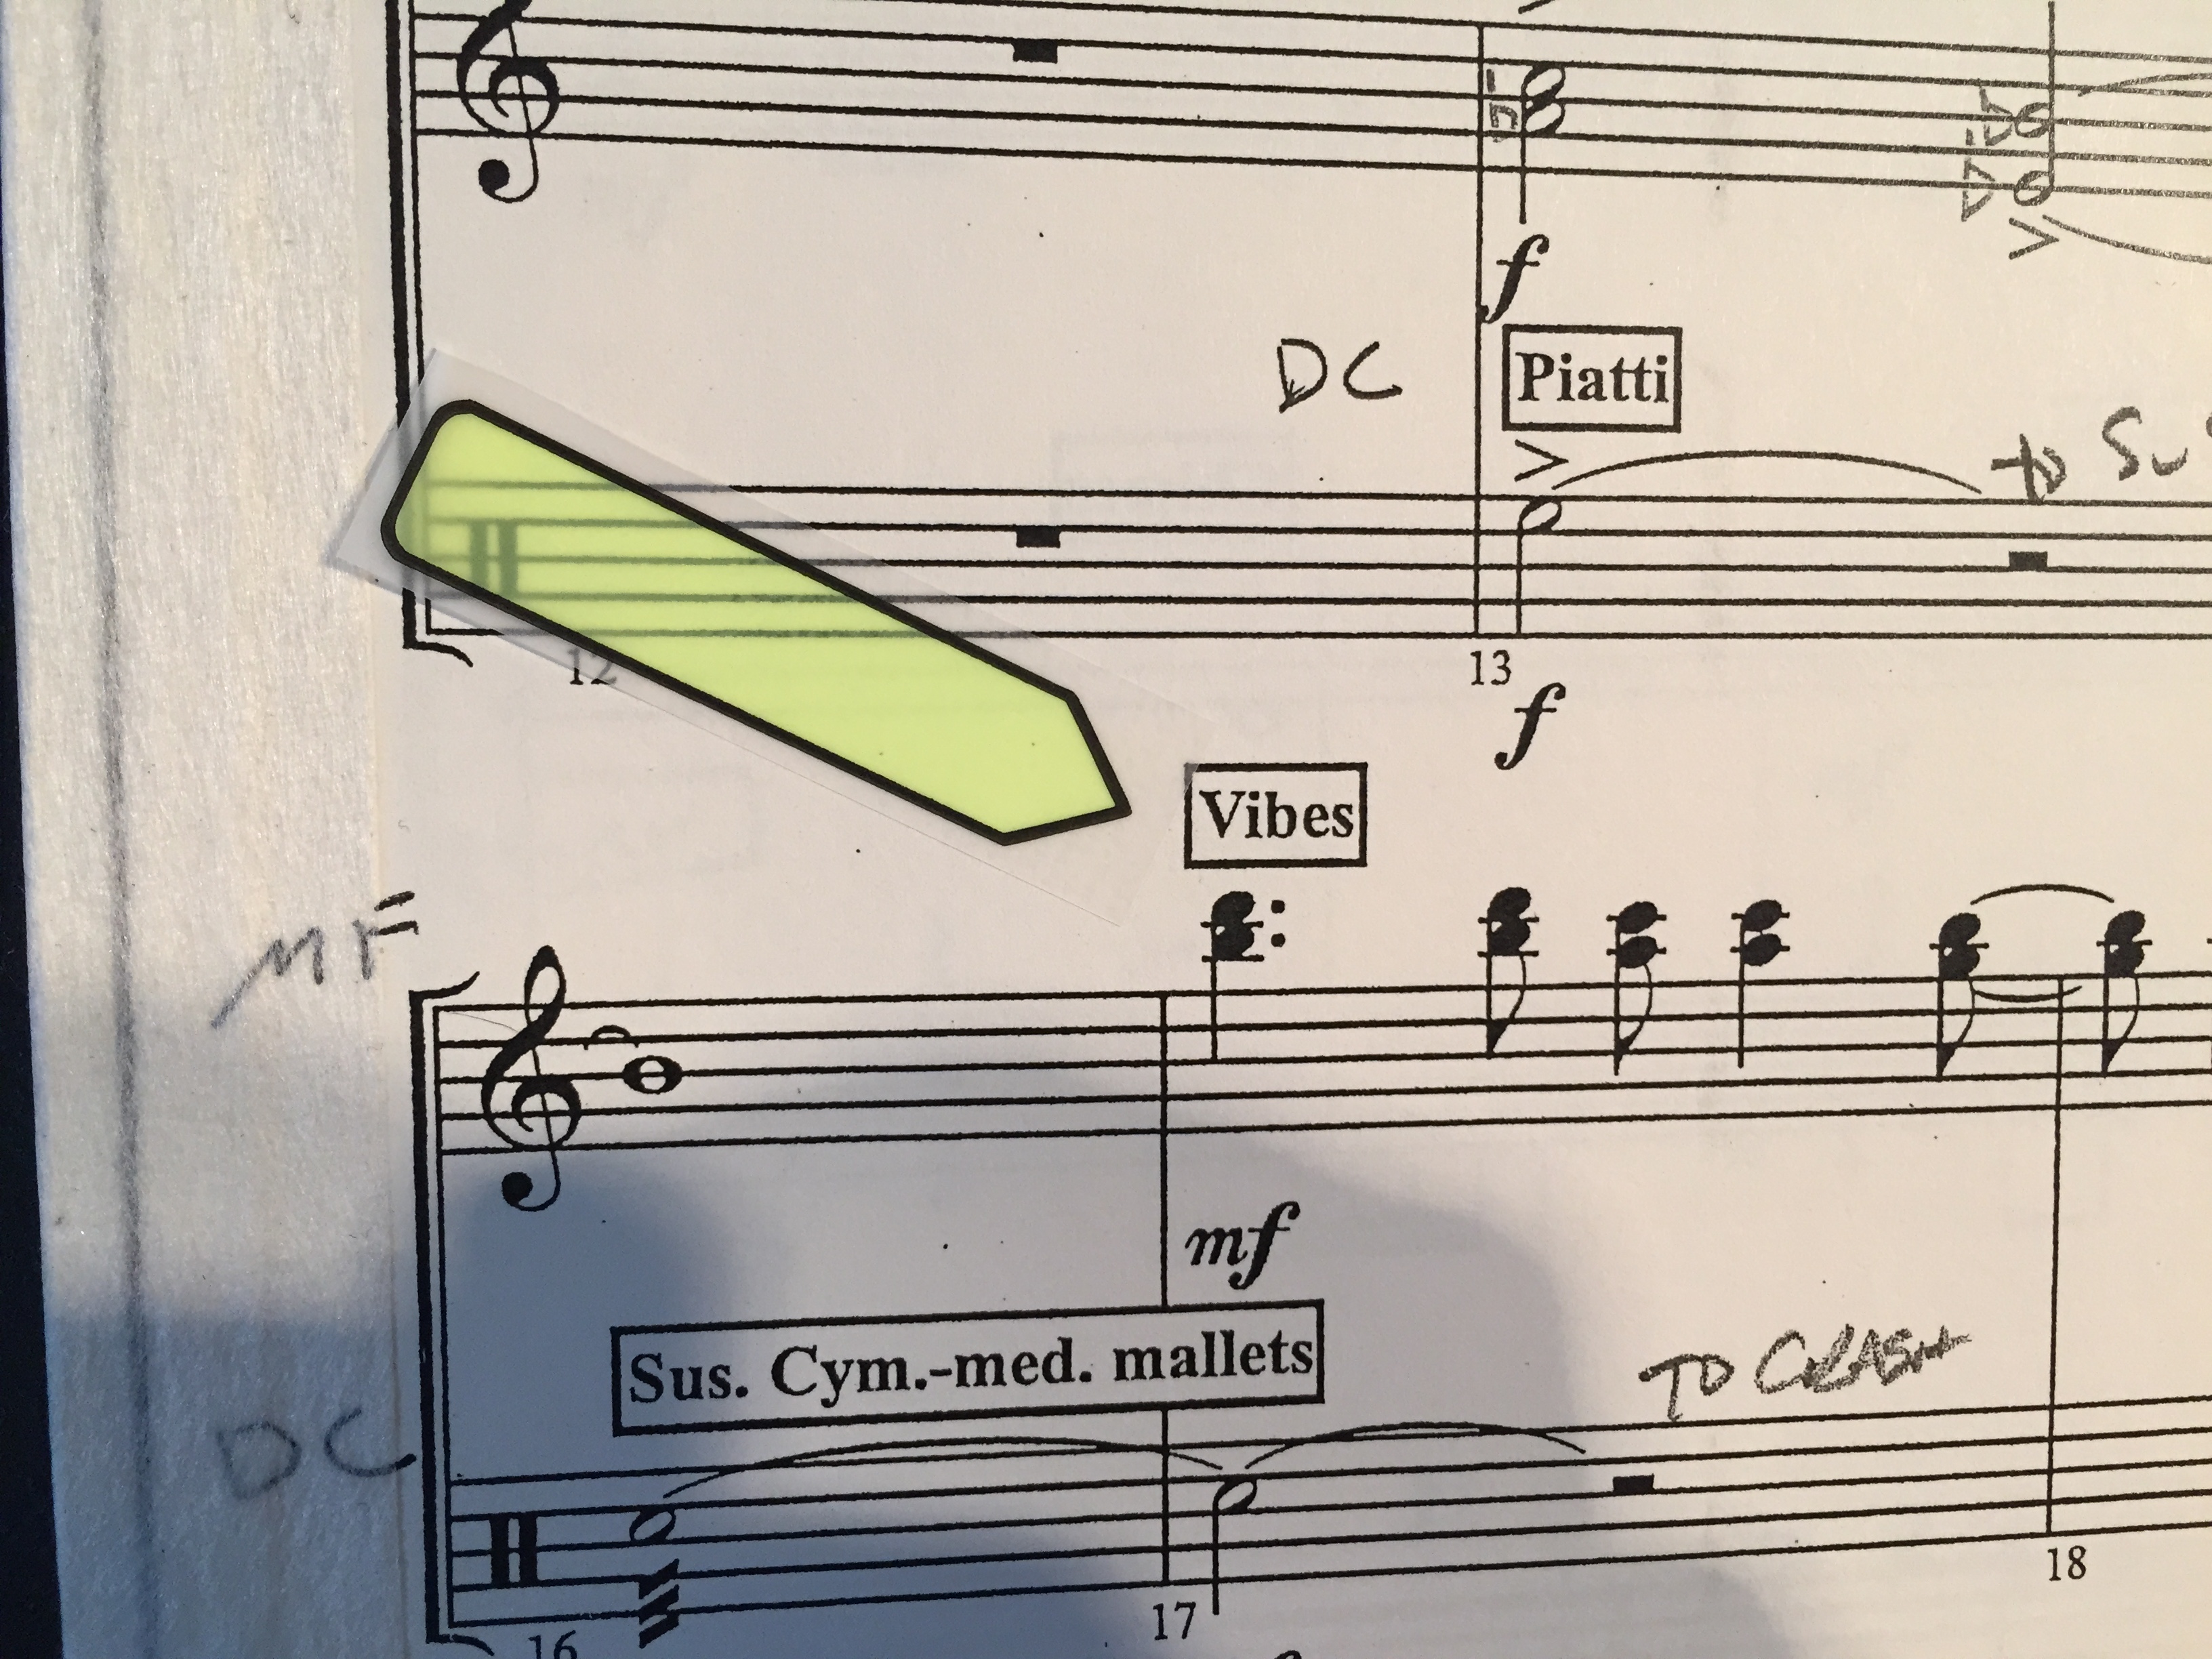
6. Cues
This is one of the most common and most helpful markings you can have as a percussionist. Good cues can make counting rests significantly easier. Got a page of 200 bars rests to count? Simply mark the major entrances at the rehearsal numbers and it will go by with way less stress!

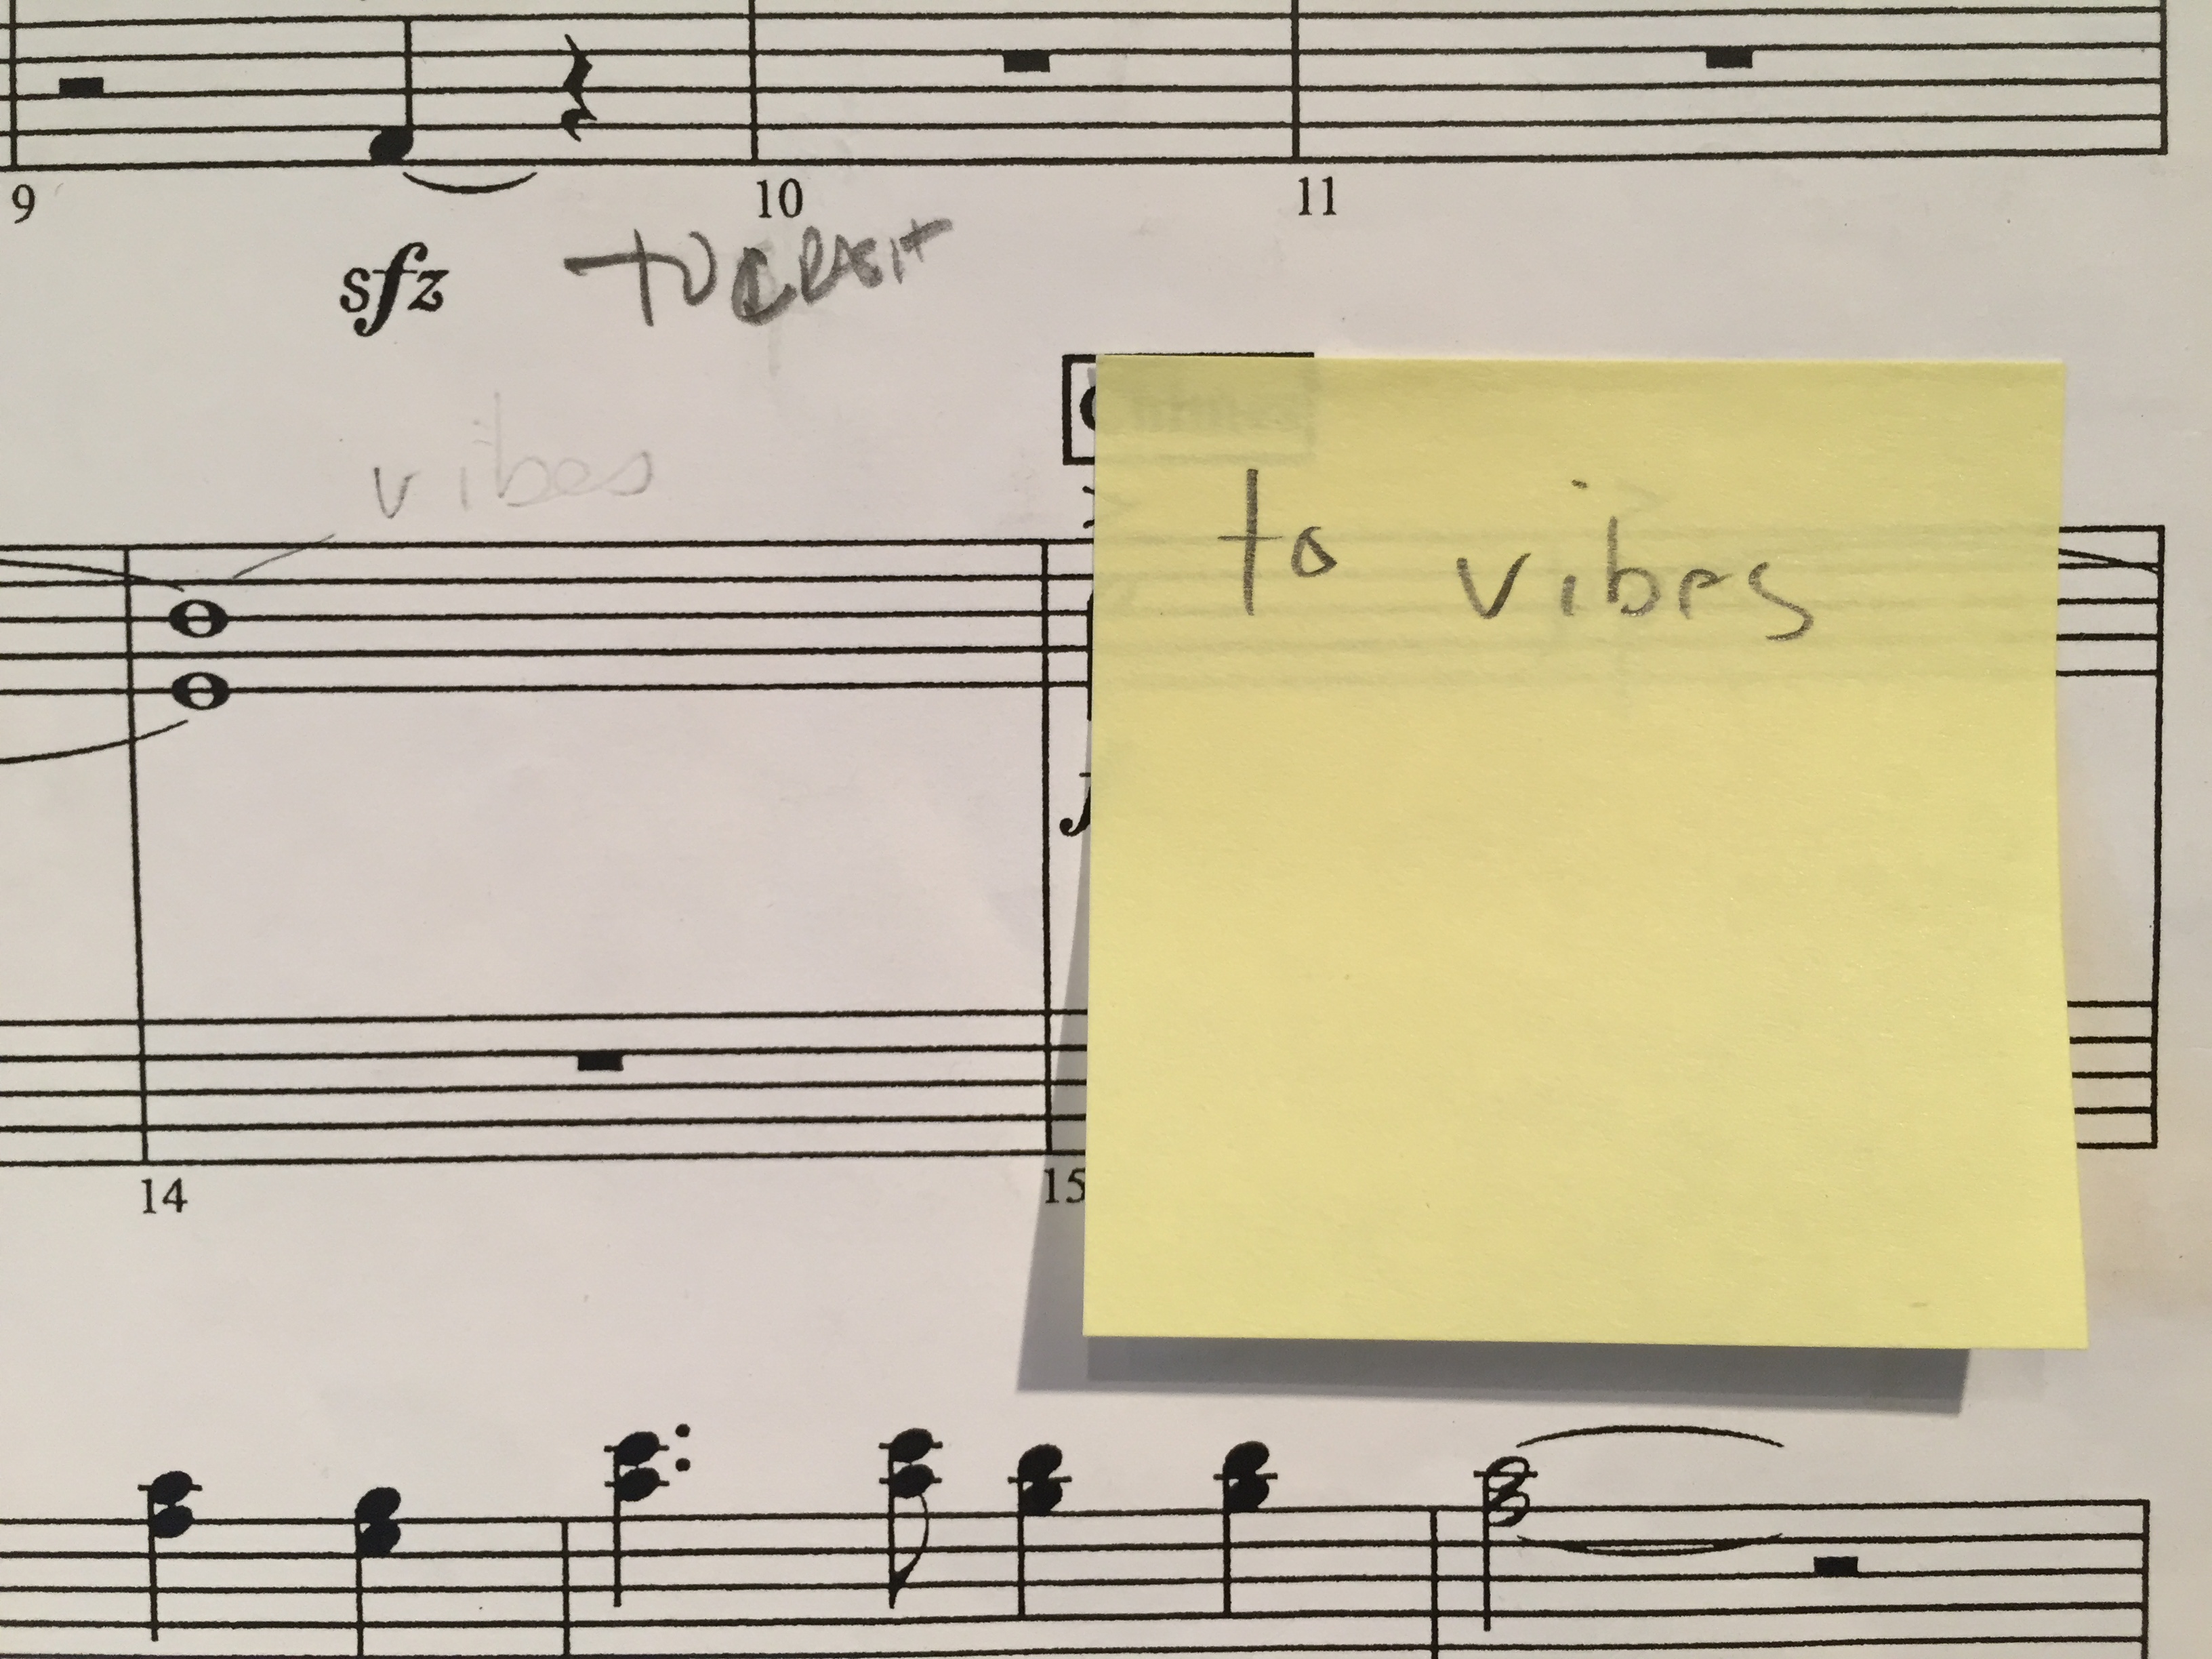
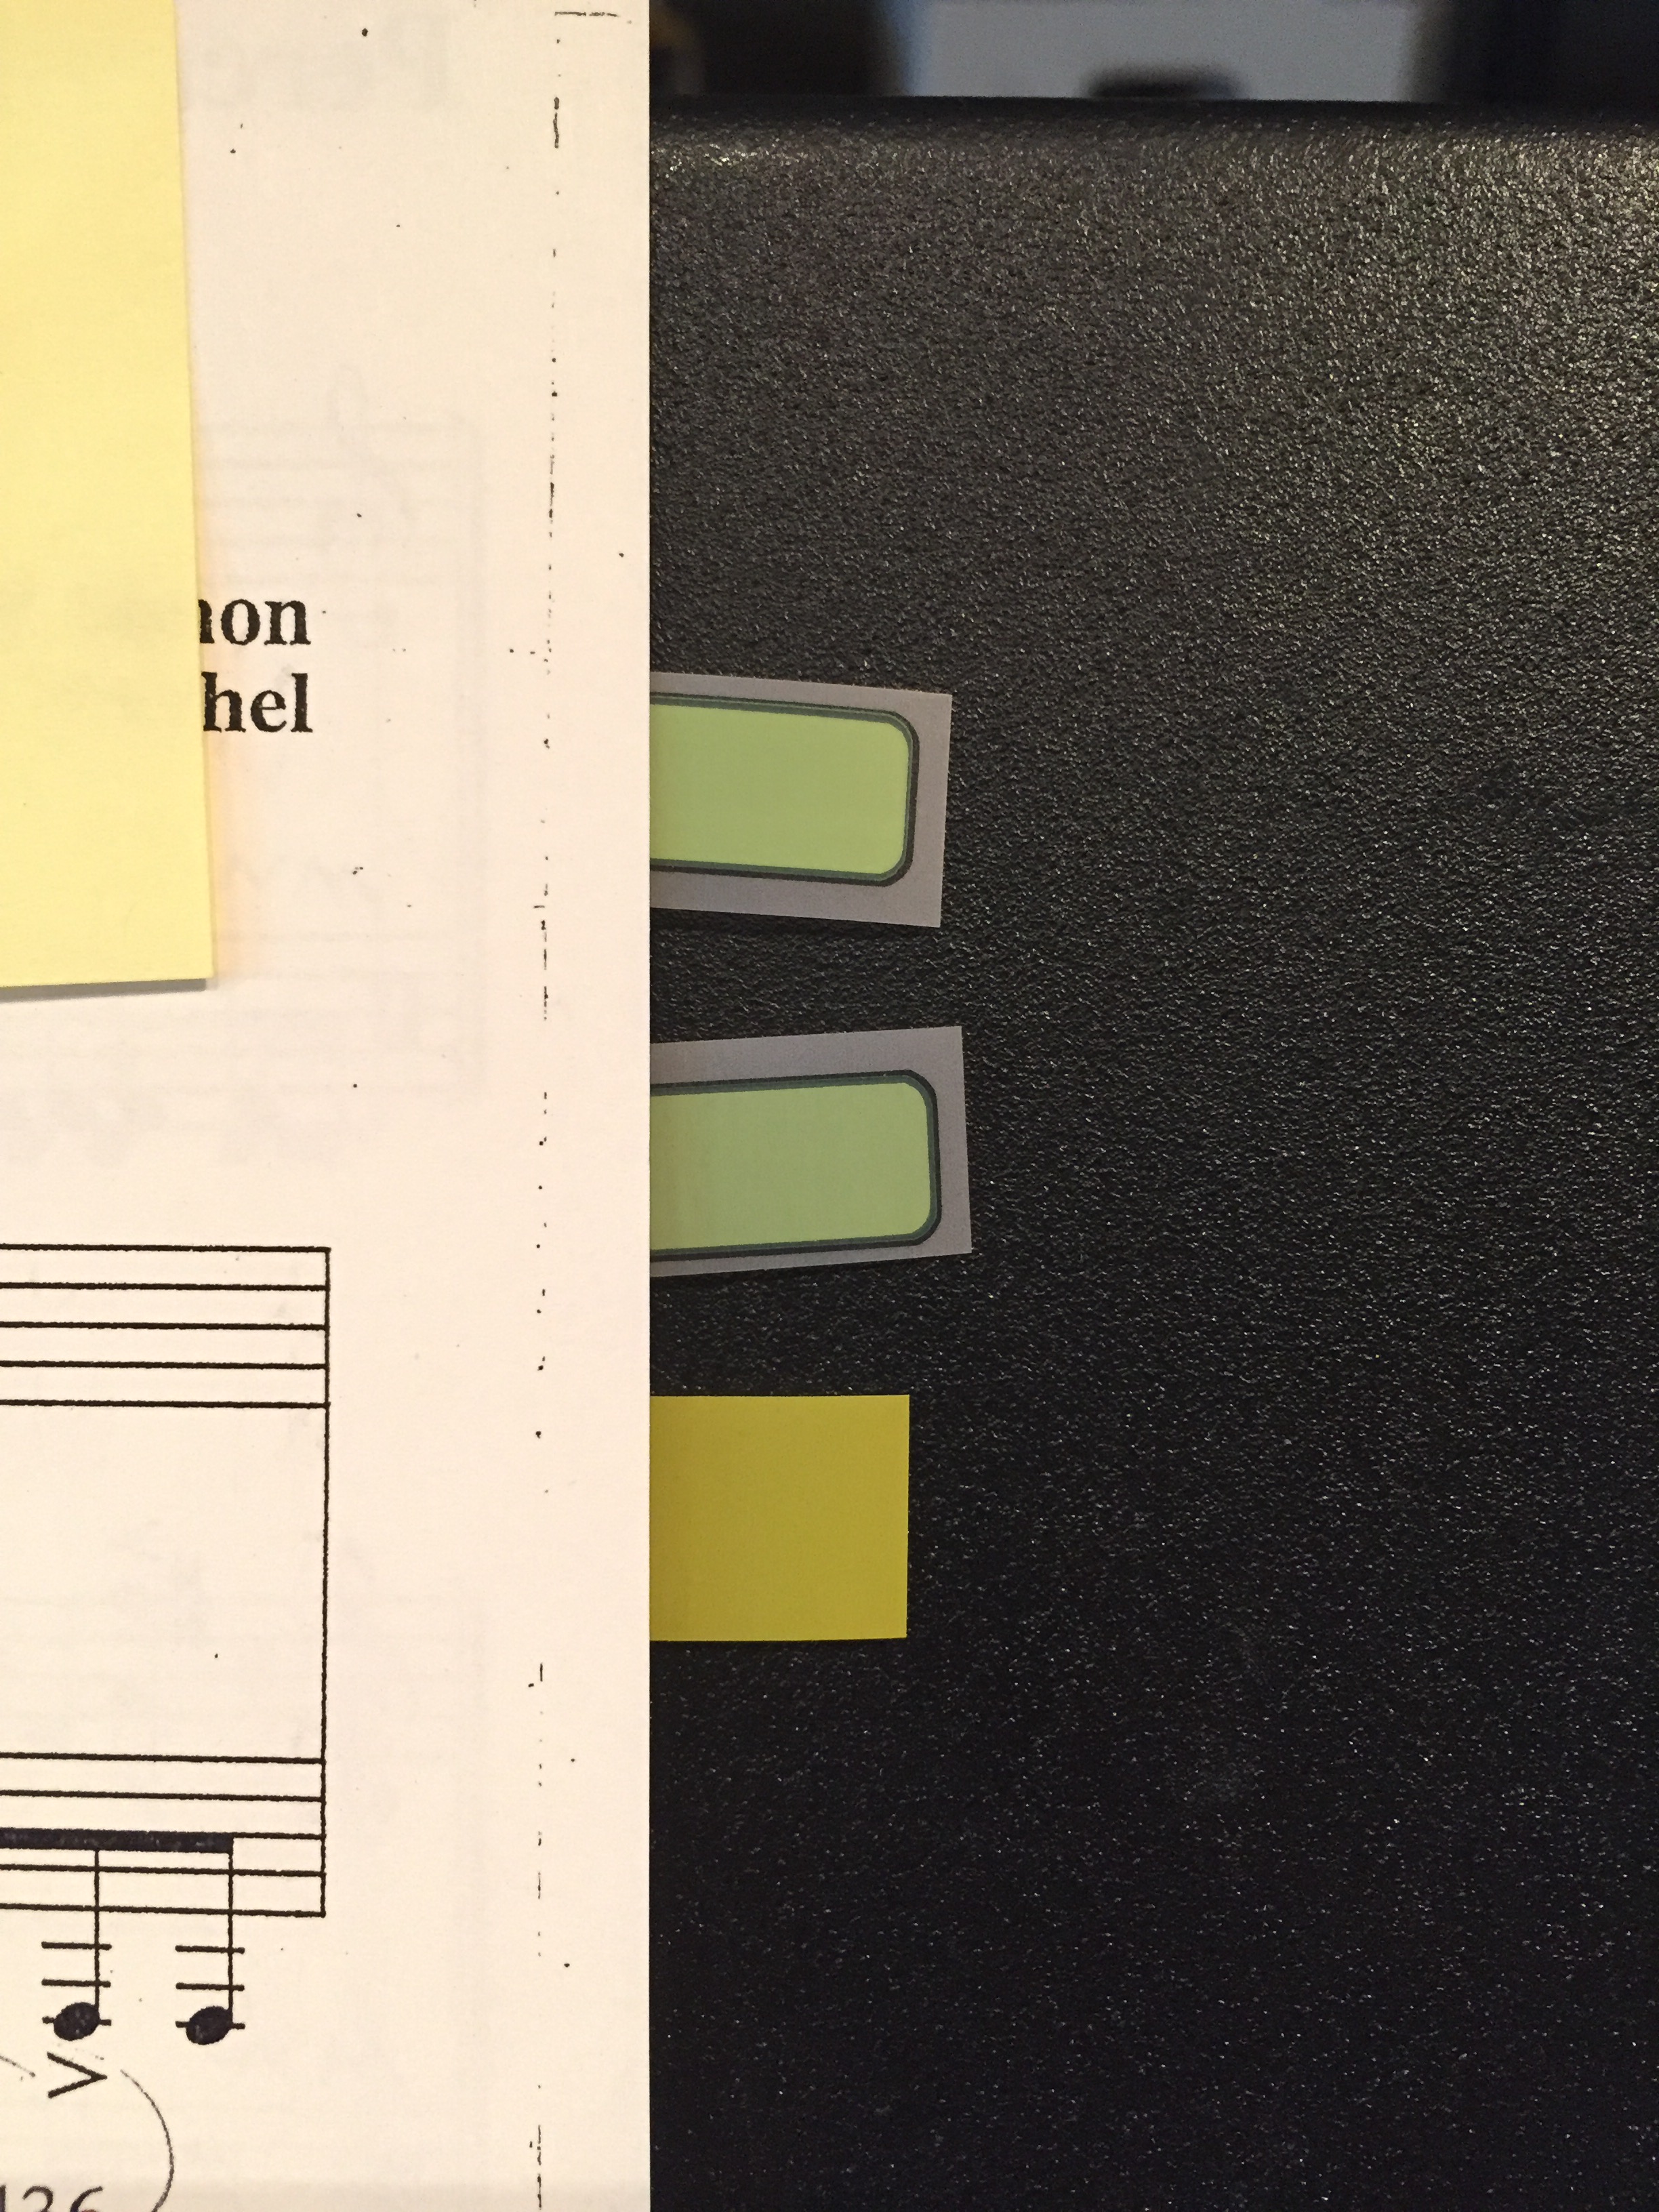
7. Page turn tabs
Percussionists are probably the only musicians who have a use for this but it can be very helpful! Say you are playing marimba, vibes, xylophone, and glock. Each instrument has it’s own separate part (which is what I recommend). You play some glock to start, then some marimba, then to xylophone, then back to marimba, then to xylophone and finally back to glock. The problem is you have turned 3 pages since you first started playing glock. By sticking one of these legal tabs inside the page you need to get to, you can walk over to the instrument. Grab the top tab. Turn it and know you are on the correct page. This may seem a little confusing but try it next time you have a piece like this. Walk through the part going from instrument to instrument and inserting tabs where your page turns are. This eliminates the “turn 3 pages” direction that take a lot of time and is stressful in the heat of the moment.
8. Eliminating bad page turns
Bad page turns are the worst. You would think proof-readers would catch these but they don’t! Writing a few cues from the previous page at the top of the next one is a great way to eliminate that horrible page turn. In this example there was an eighth note “A” on the previous page. So I just wrote it in on the next page.

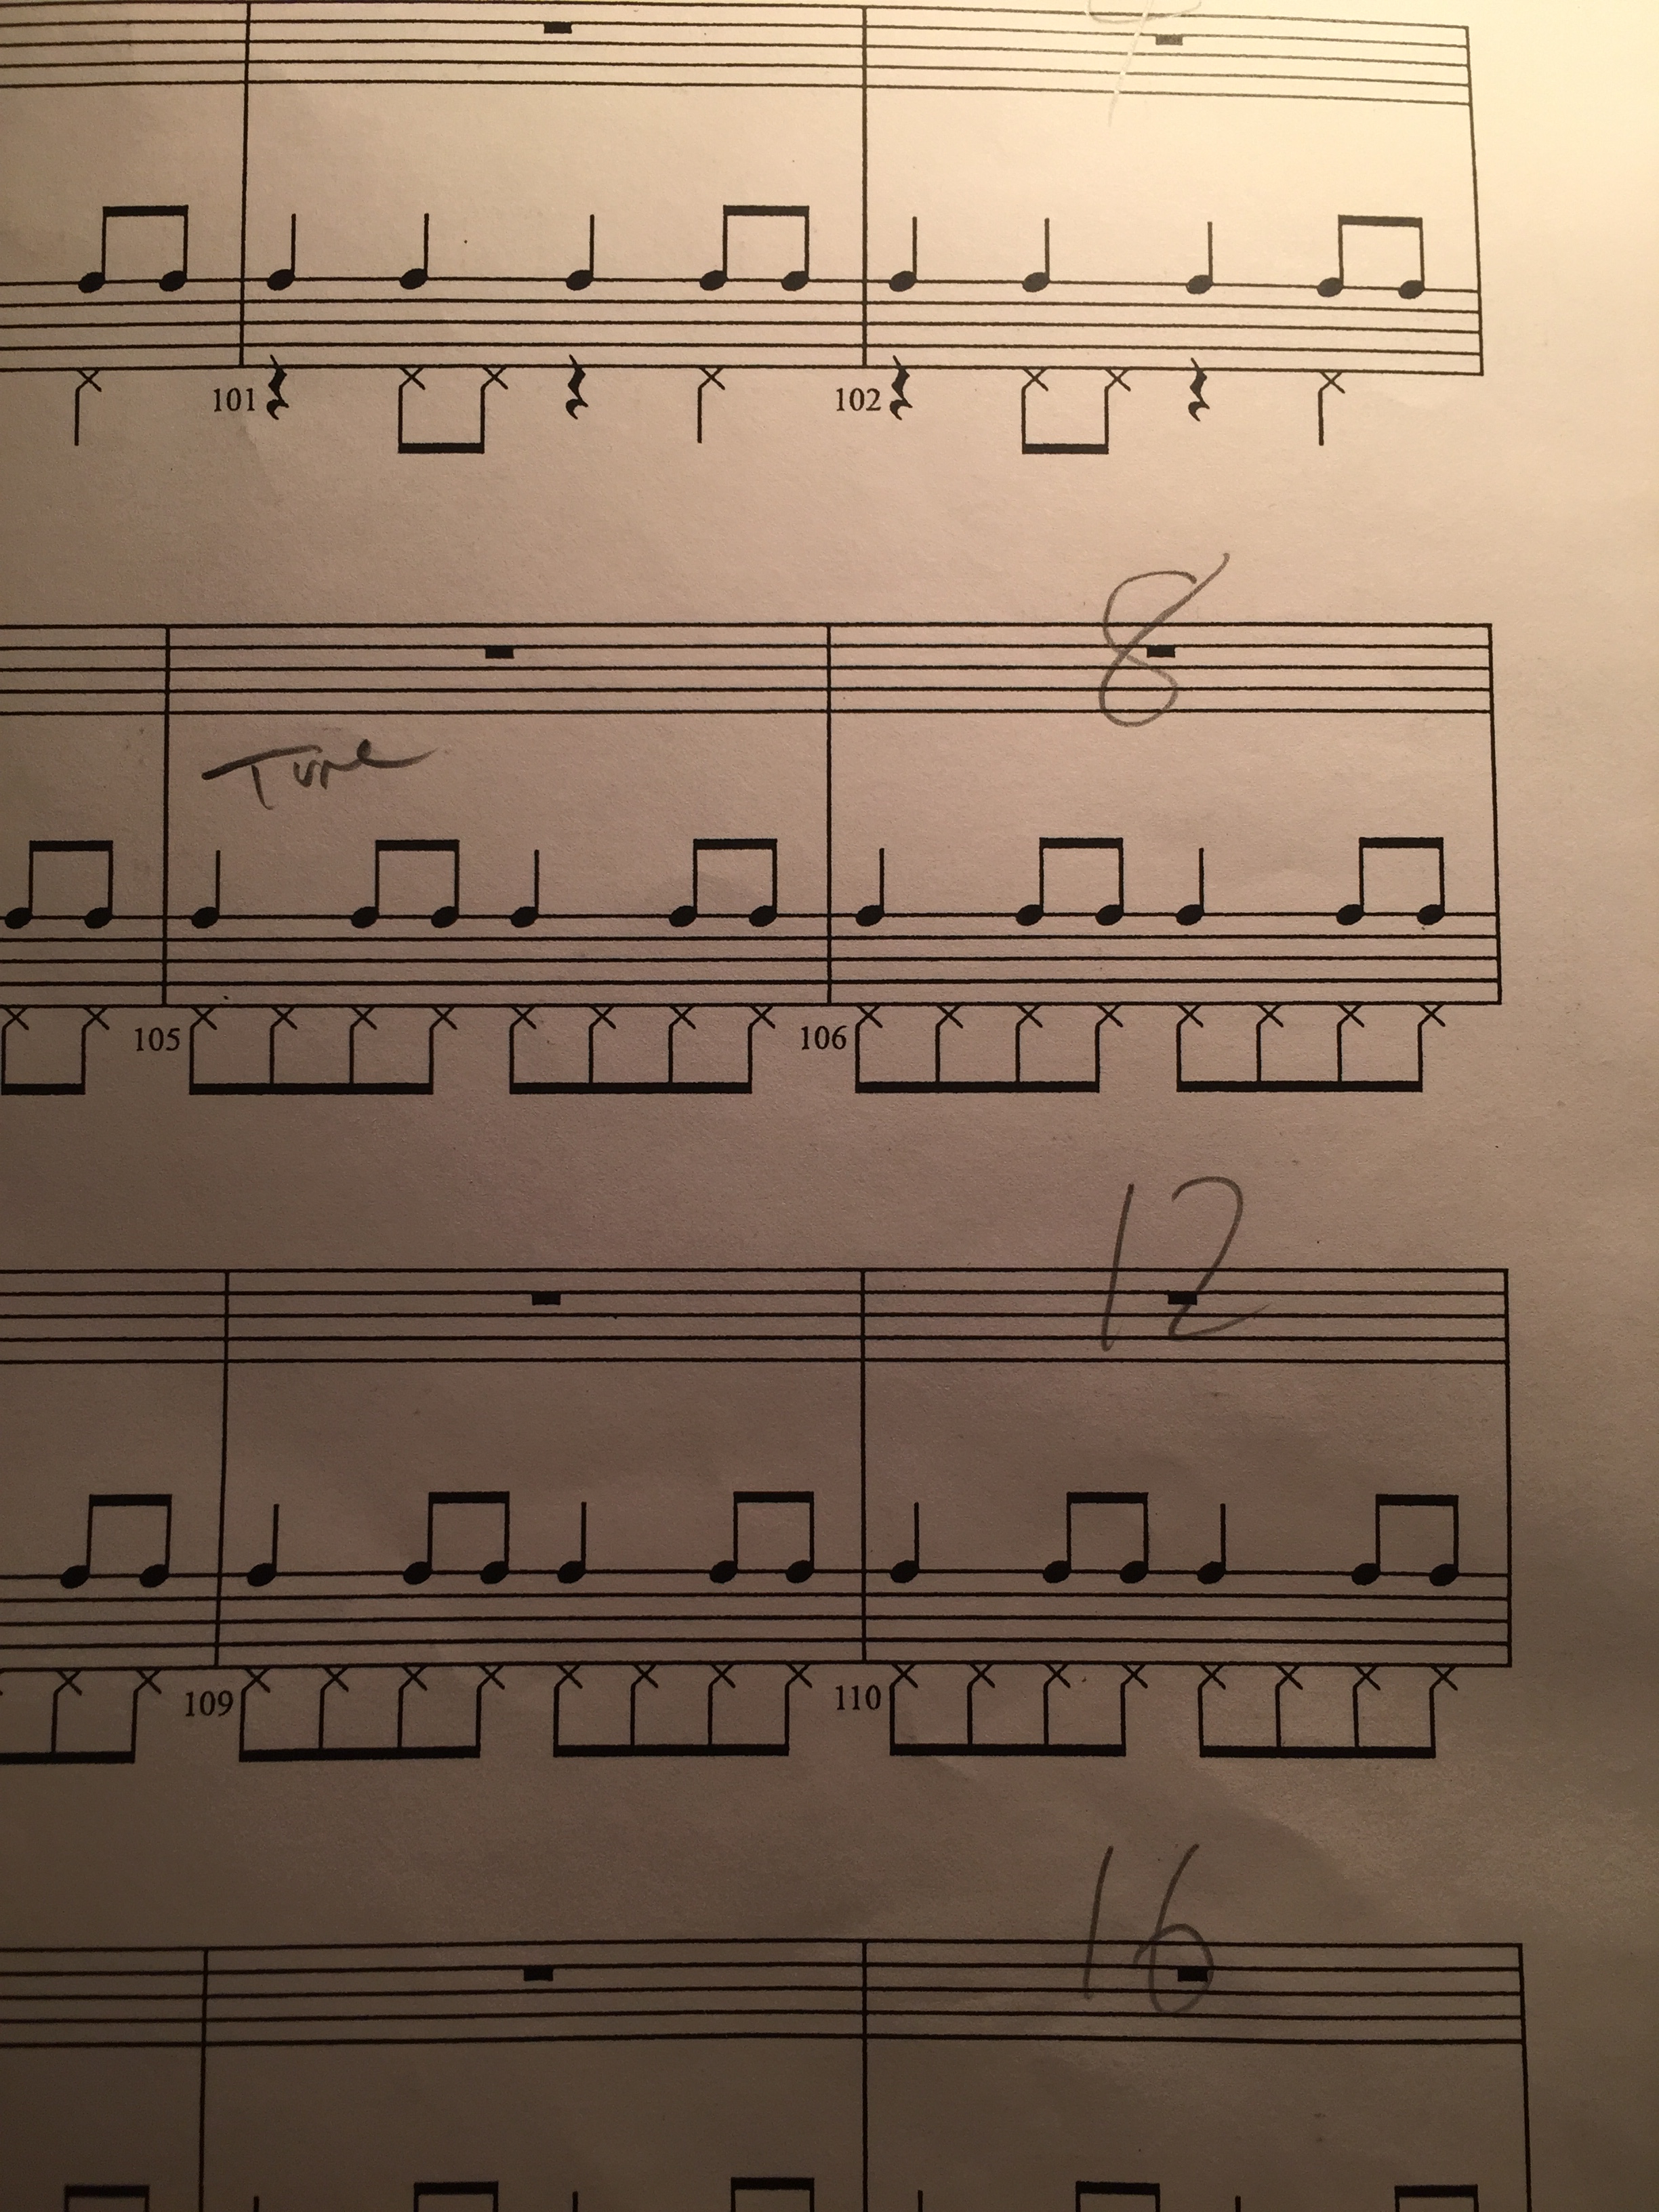
9. Write in the counting above the bars you don’t play in
When others are playing, especially a repeated pattern, it is really hard to count every single bar you are resting. By writing in how many bars rest you have, you don’t have to follow measure by measure, you can just mentally count like you normally would.
10. Separate systems visually
Sometimes the systems can blend together and you can get visually lost on the page. By drawing two “slash” marks between the systems you can separate the systems in a more pronounced way. This is a big help for me as I am moving my eyes from the instrument to the page, to the conductor, to the page and back and forth.

11. TACET
One of our favorite markings! Rather than count through a bunch of bars rest, forgetting you don’t play again for 2 pages, you can just mark the entire page tacet. This saves some mental energy, especially in a long show!

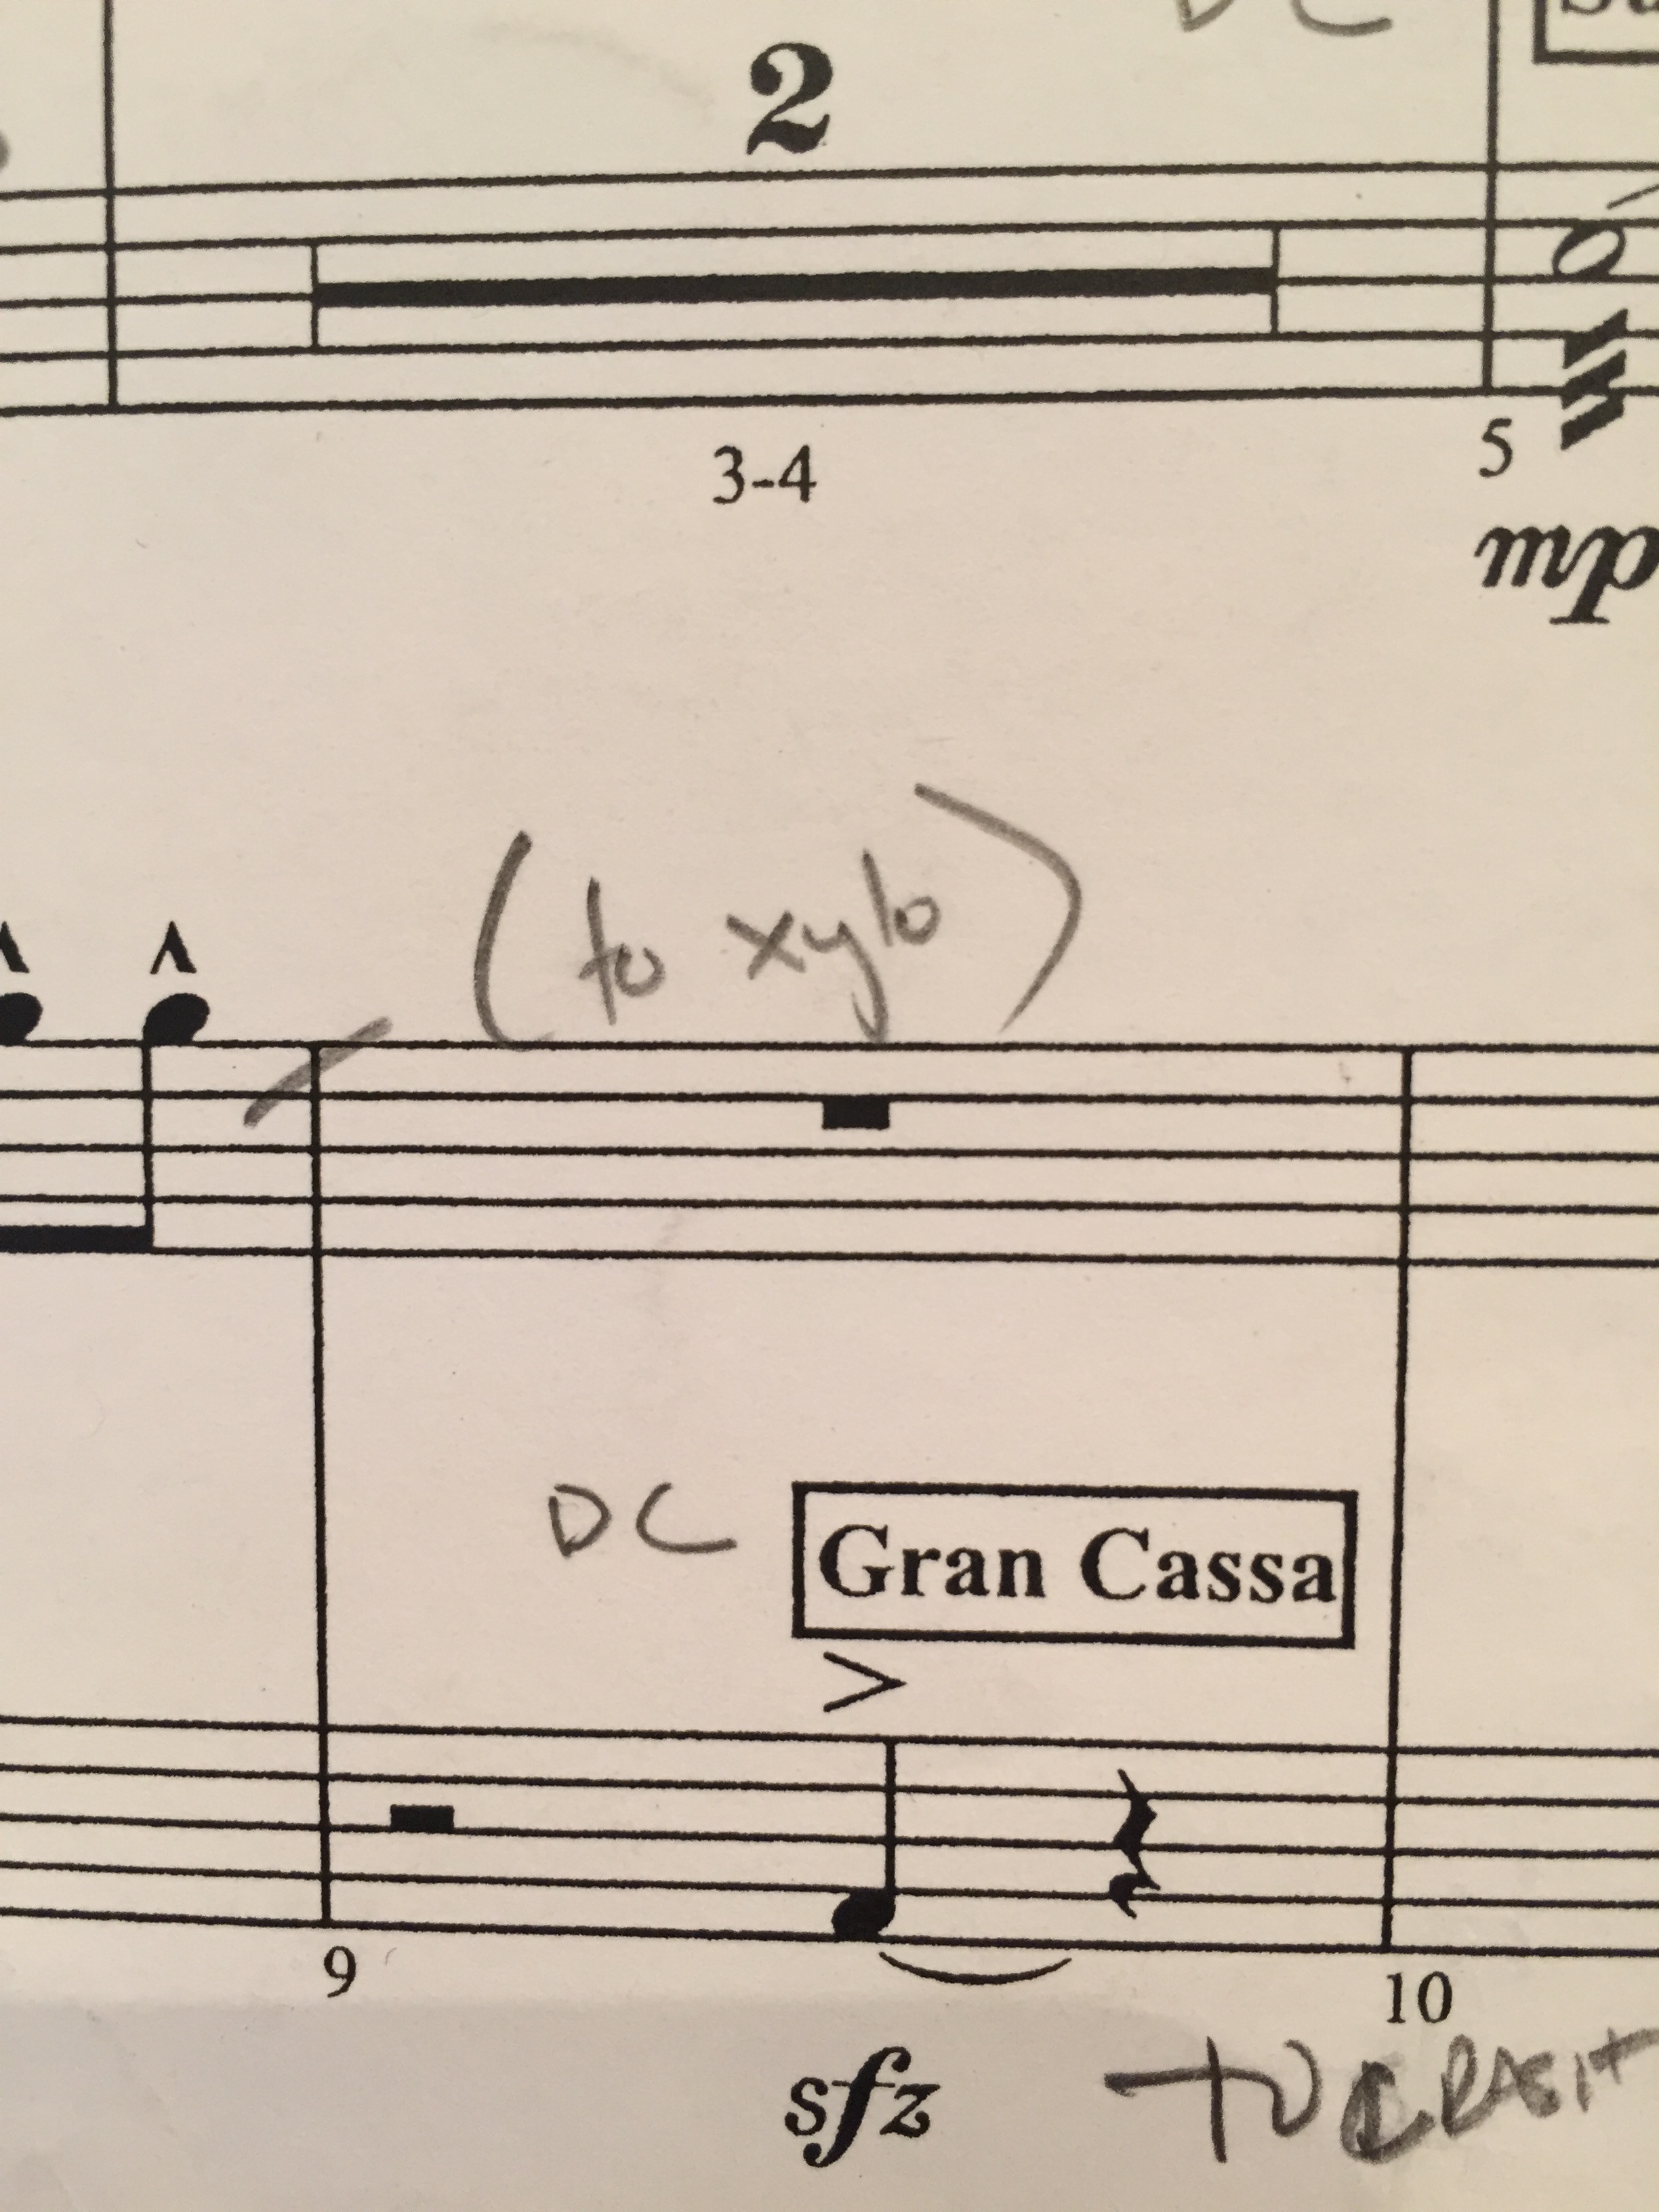
12. Directions for early page turns
Sometimes we have to fly from one instrument to the next and we don’t have time for that page turn. Writing it in early, while you have time, is a great way to keep your heart rate down and give yourself a higher possibility of success. In this example I am leaving marimba and going to xylo, but need to turn the marimba page before leaving.

I realize there are probably a lot of other markings one could put in your part and I think you should if you find them helpful. The key word is helpful. A properly marked parked is a blessing, but it is much more common to find overly marked parts that are confusing with too much information. In those scenarios I bring out the rubber eraser and just start over.
Leave some comments below of some of your favorite markings and what you find helpful!
WJ

When I’m playing off of photocopies (that one part you need on four different stands for example) or off of parts I built myself I like to differentiate instruments with highlighter. If I have chimes and glock I might highlight one part in yellow and the other in green. This way there’s no question about where I’m supposed to be.
Not a good idea on originals!!! But a blessing if it’s something you don’t have to turn in or that will be shredded later.
Very good article.
But for me personally, I like to take my part along while moving between instruments if possible, to avoid having to prepare multiple stands, and turning issues. Also often collegues will have to play on the other instruments too, so I’d rather have a moving part, to avoid confusion there.
Good points! If I have plenty of time to wander from instrument to instrument I may not go to the trouble of preparing multiple parts. But, if the switch is remotely quickly I always like knowing there is music on the stand. Dan, I am a fan of the highlighter as well if I am using photocopies. The legal arrows are a nice compromise for a printed part.
The first pit orchestra gig I ever played, someone had written in “Time” at the end of one of the numbers. I asked the drum set player (I was playing the concert percussion book) what this meant and he said it means you have time to breathe and relax before you have to play again. This has proven very valuable to me since most musical books have you playing multiple numbers in a row (segue). I later saw that printed once on a part in another musical, but have not seen it printed since. I use it quite often in marking my books.
When I direct musicals, I always tell my players if they have a tiny bit of time, a small break, or time to go to the bathroom. They really appreciate knowing how relaxed they can get.
It’s always nice to know when you have time!
Do directors mind if you write to many cues in?
Generally not. They are in their own world up there. Cues are great for knowing where you are and knowing who to play with but there is a point when you can go overboard.